Connecting to the service
-
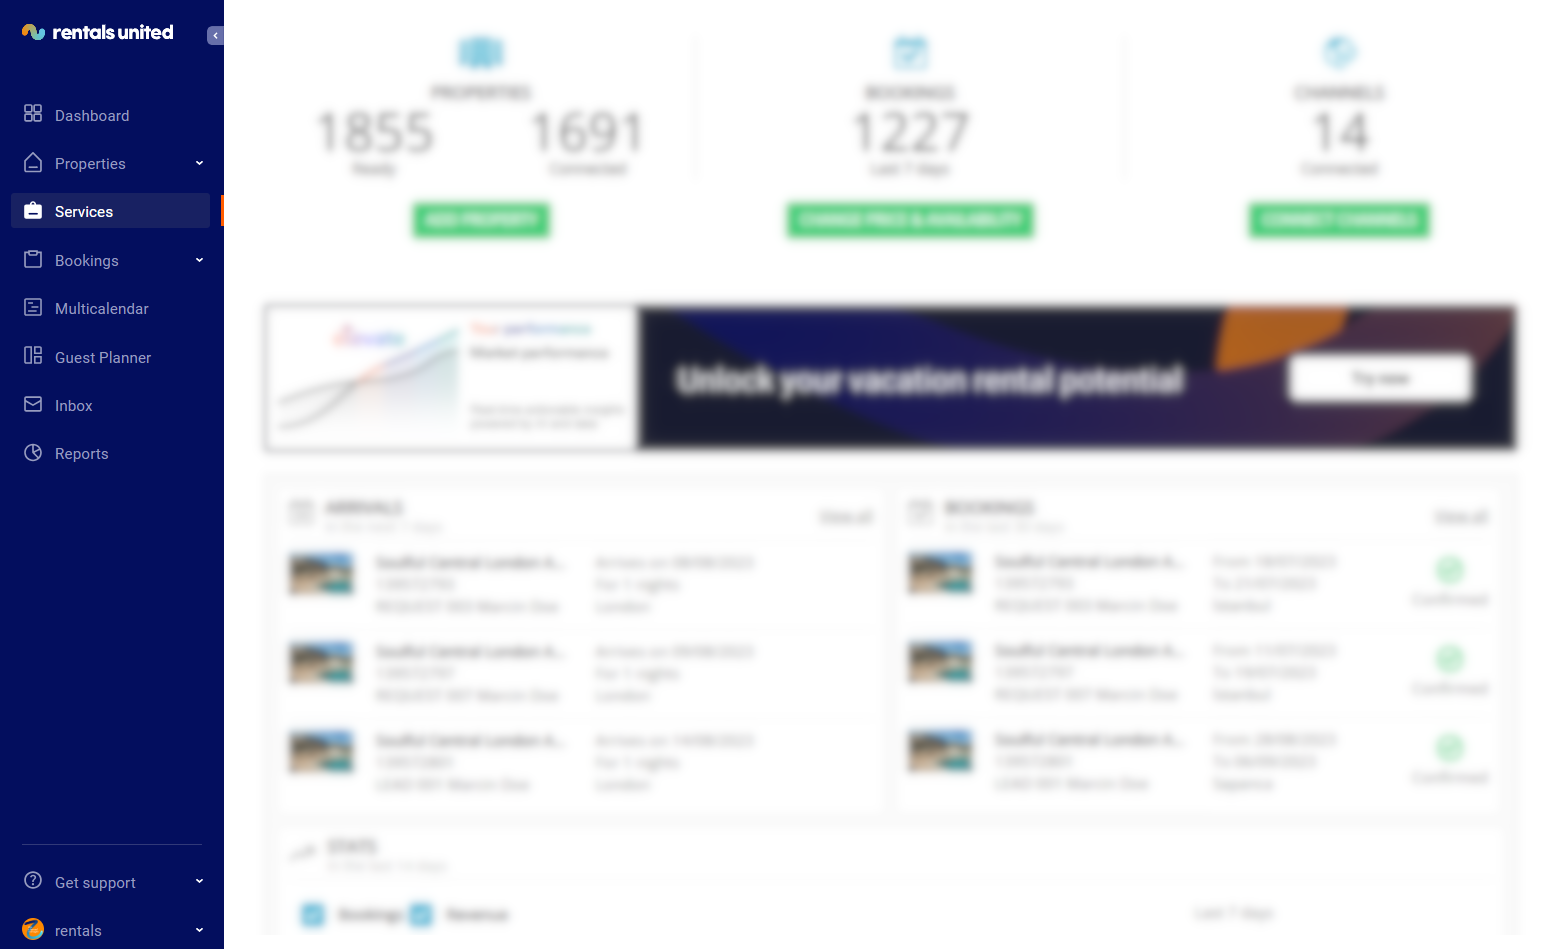
In Rentals United platform, go to the Services tab.
-
Click the Find Services tab.
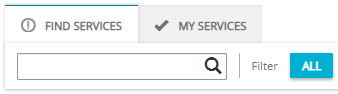
Type the Sales Channel name in the search box or scroll down through the list of available channels.
Unfold the Sales Channel section by clicking the Down arrow button.
-
Click the Get connected button.

-
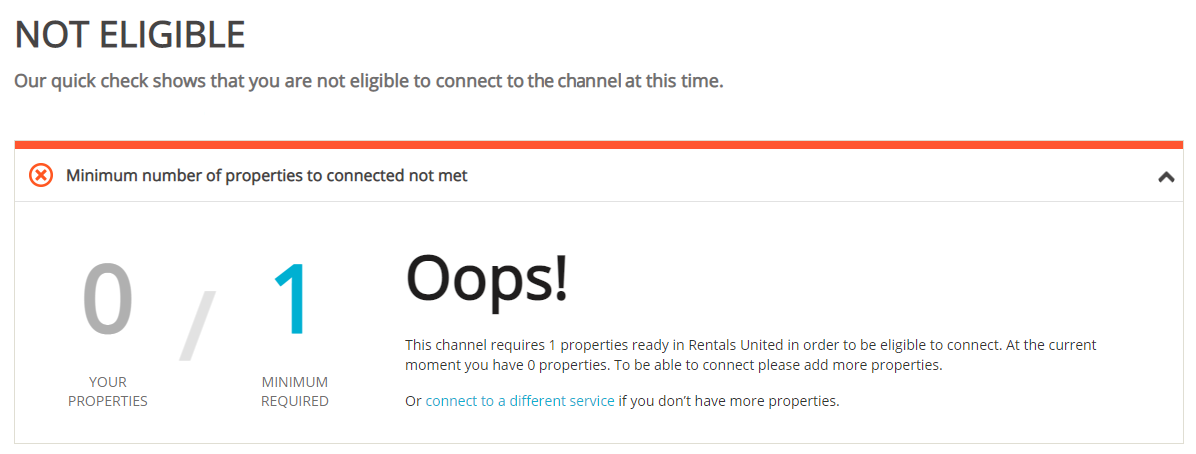
Your connection is now being validated in the background. If the validation is passed successfully, the Connection Wizard is launched and you can go to the next step. If you are not eligible to connect to Sales Channel, an error is displayed.
Eligibility errors indicate violating initial channel requirements that need to be met before you establish the connection. You will not be able to go to the next step and finish the connection process unless the eligibility error is cleared away. In order to resolve it, follow the instructions displayed on the screen. Please, see an exemplary eligibility error below.
You are presented with a brief description on how the Sales Channel works. Read it carefully and confirm that you agree with it by ticking the checkbox below. Do not worry, once all the steps of the Connection Wizard are completed, you will still be able to view the How it works content again. Click the Save & Next button on the bottom of the page to move to the next step.
Tip: On the top of the page, you can view the progress of the Connection Wizard. Depending on the channel, the number of steps may differ. You can stop anywhere along the process. Upon next time you open the Connection Wizard, you will continue at the last completed step. Follow the next steps displayed in Rentals United.
Add properties
-
In Rentals United platform, go to the Services tab.
-
Select the proper list to search for Sales Channel.
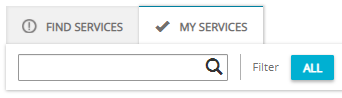
Find Services lists the channels you are not yet connected to,
My Services lists the channels which you have already established connection with and channels that are in the process of being connected.
Type the Sales Channel name in the search box or scroll down through the list of available channels.
Unfold the Sales Channel section by clicking the Down arrow button.
-
Click the Property Settings button.

-
Connect the property.
Depending on whether you already have some properties connected to Sales Channel or not, you are presented with two different options.
-
If it is the first property to be connected, click the Connect your first property button.

-
If it is the next property to be connected, click the Add more properties button.

-
-
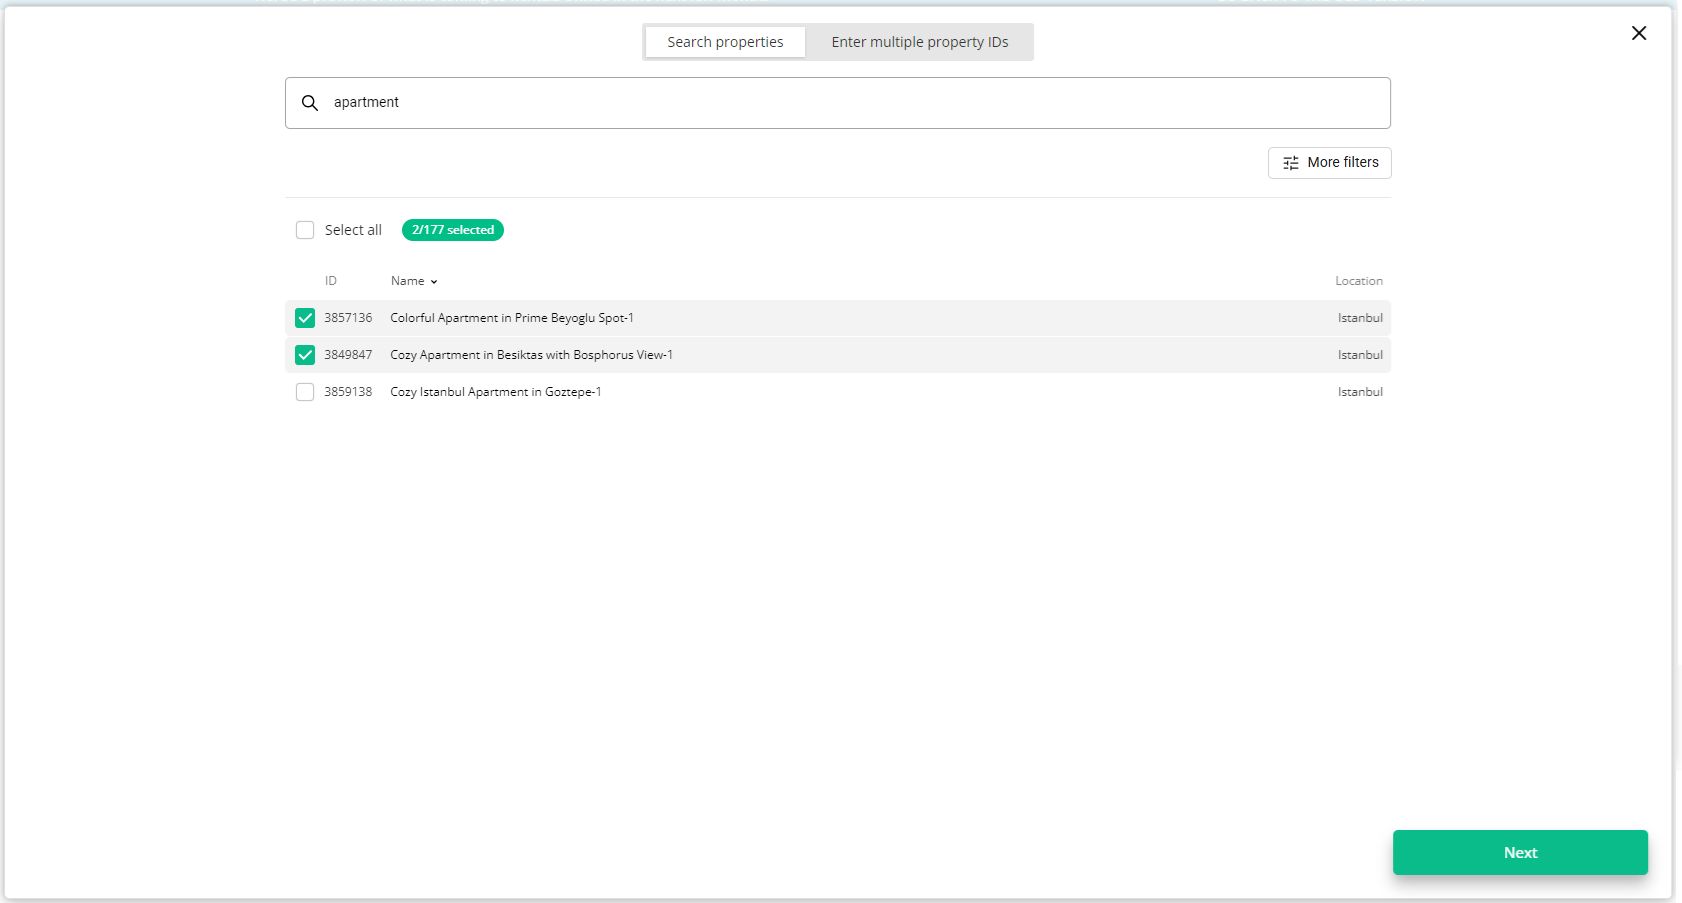
Choose the properties. You can read about the different ways of filtering and selecting properties here.
-
Click Next. You will see here the summary of all selected properties. Review the list and check if all properties are included.
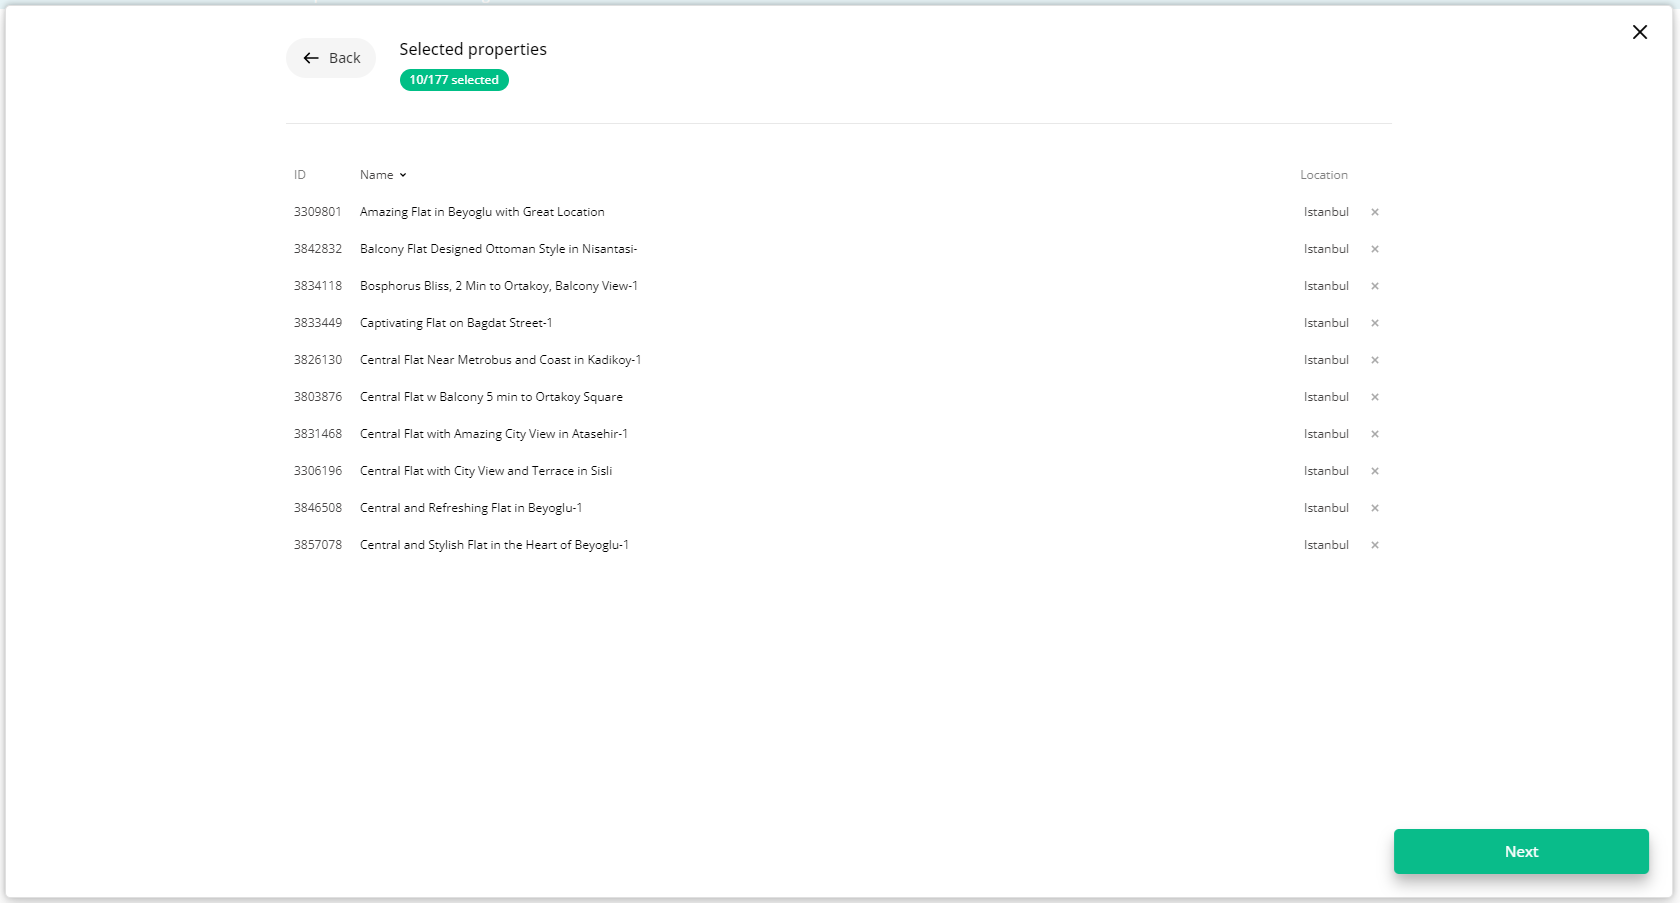
Click Next to proceed.
The content quality is analyzed. The process should take up to a few minutes.
-
The summary of properties’ content is displayed.
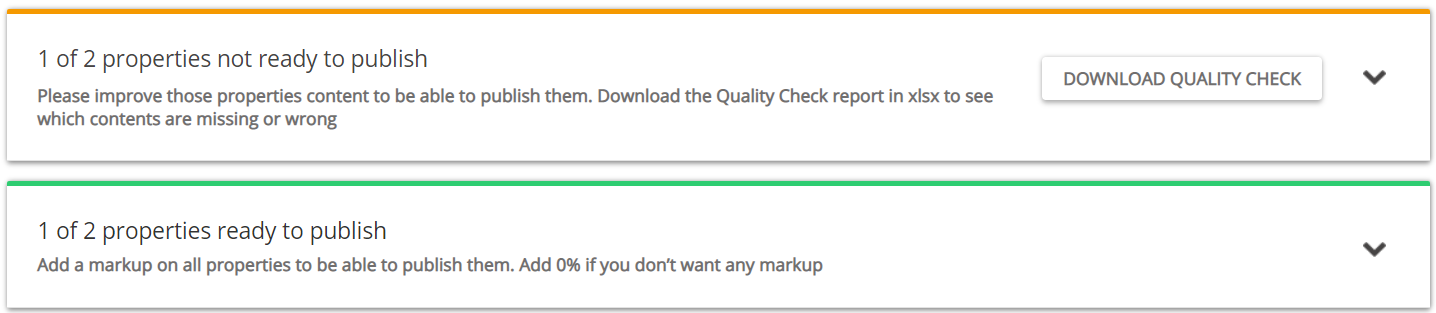 If some properties are not ready to publish, improve the content.
-
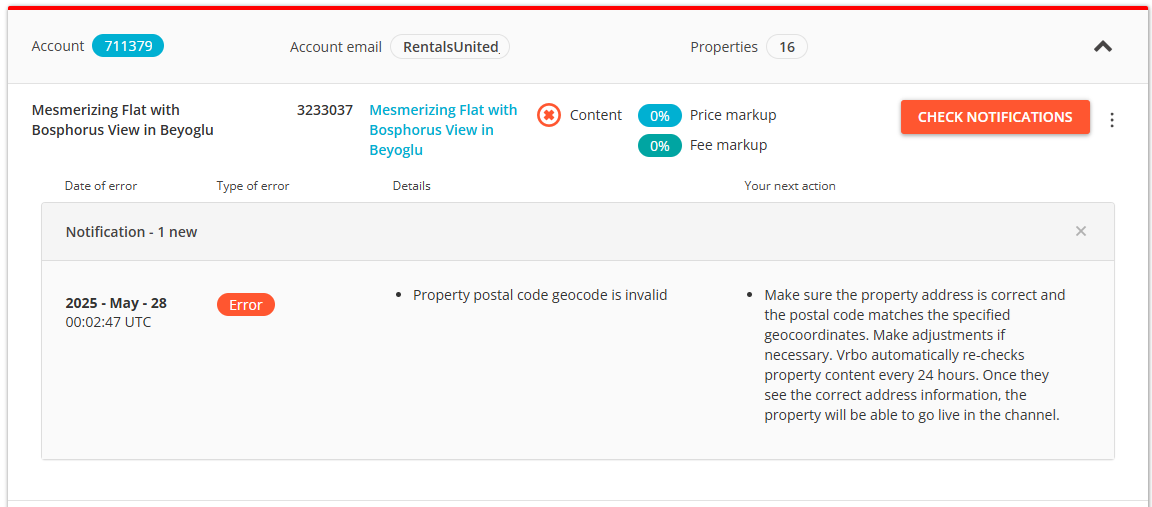
Check the content quality by unfolding the section with warning.
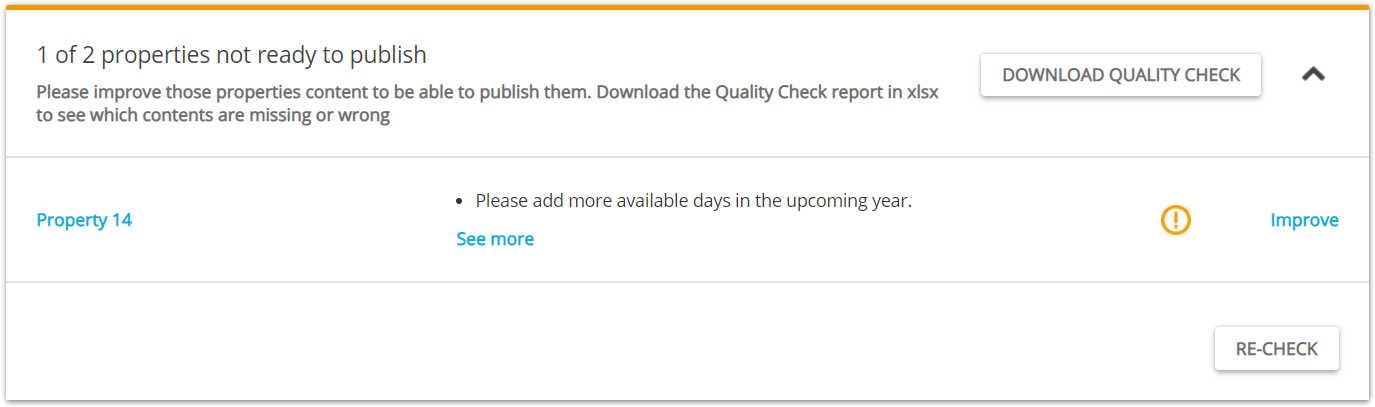
Verify if any data is missing or incorrect. It is possible to display the errors by unfolding the section. For more detailed summary of errors, download the XLSX report by clicking the Download Quality Check button.
Click the Improve button. The Edit property page is opened in a new tab.
Correct the content indicated in the report in the Edit property page.
-
Go back to the Property List and click the Re-check button. If no further errors are displayed, the property is ready to publish.
-
-
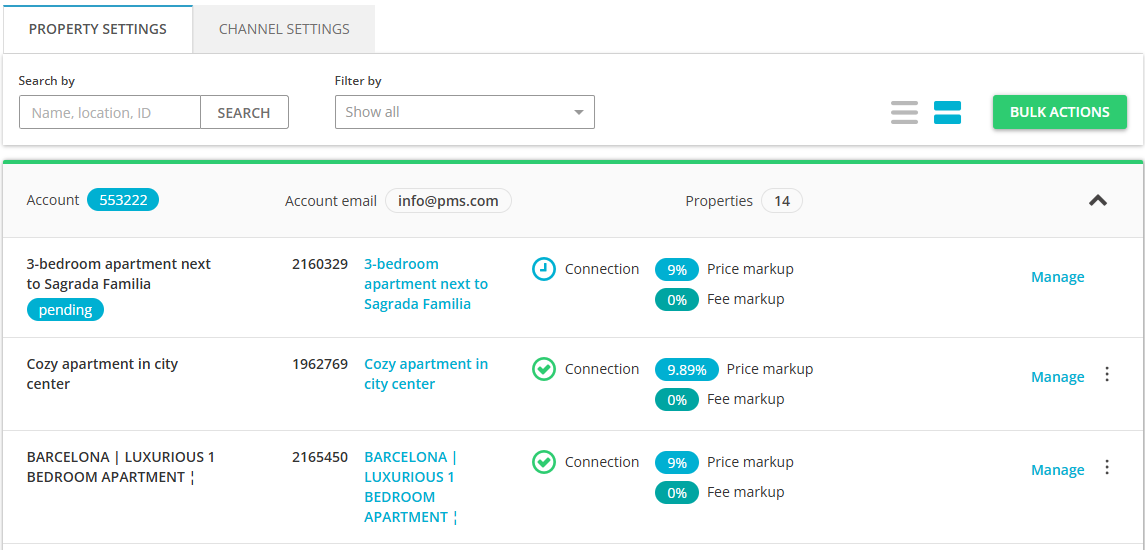
If the properties are ready to publish, adjust the markup for each of them. You can adjust the mark-up for each property one by one or apply the same mark-up value for all at once.
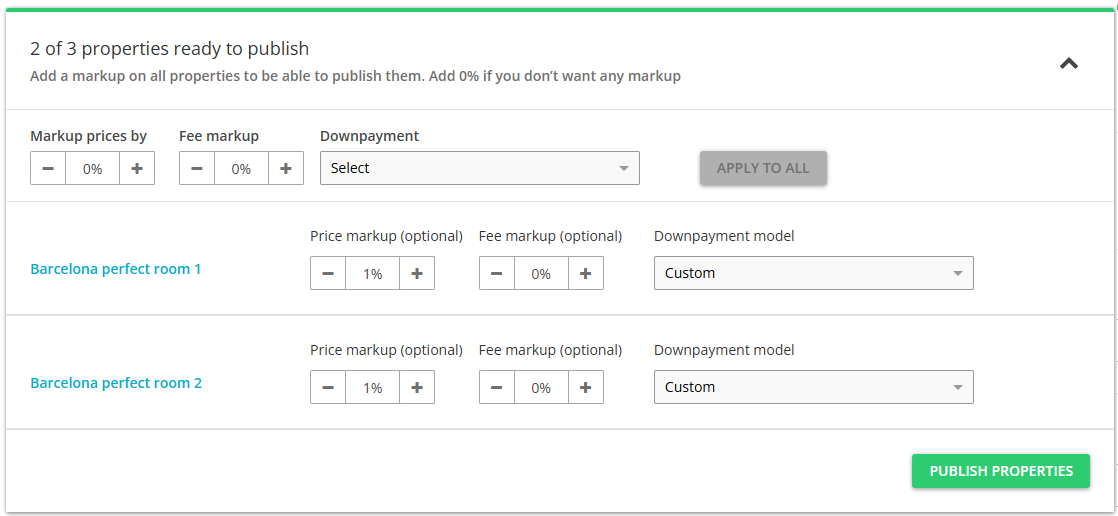
Click the Publish properties button.
-
The published properties enter the
 Pending status. The Sales Channel reviews the connections requests.
Tip: Hover over the
Pending status icon. You may provide the live link to this property being listed in the Sales Channel website. Rentals United does not have access to information whether it is live or not. Note it is not mandatory, but properties with no live link will not enter the  Active status.
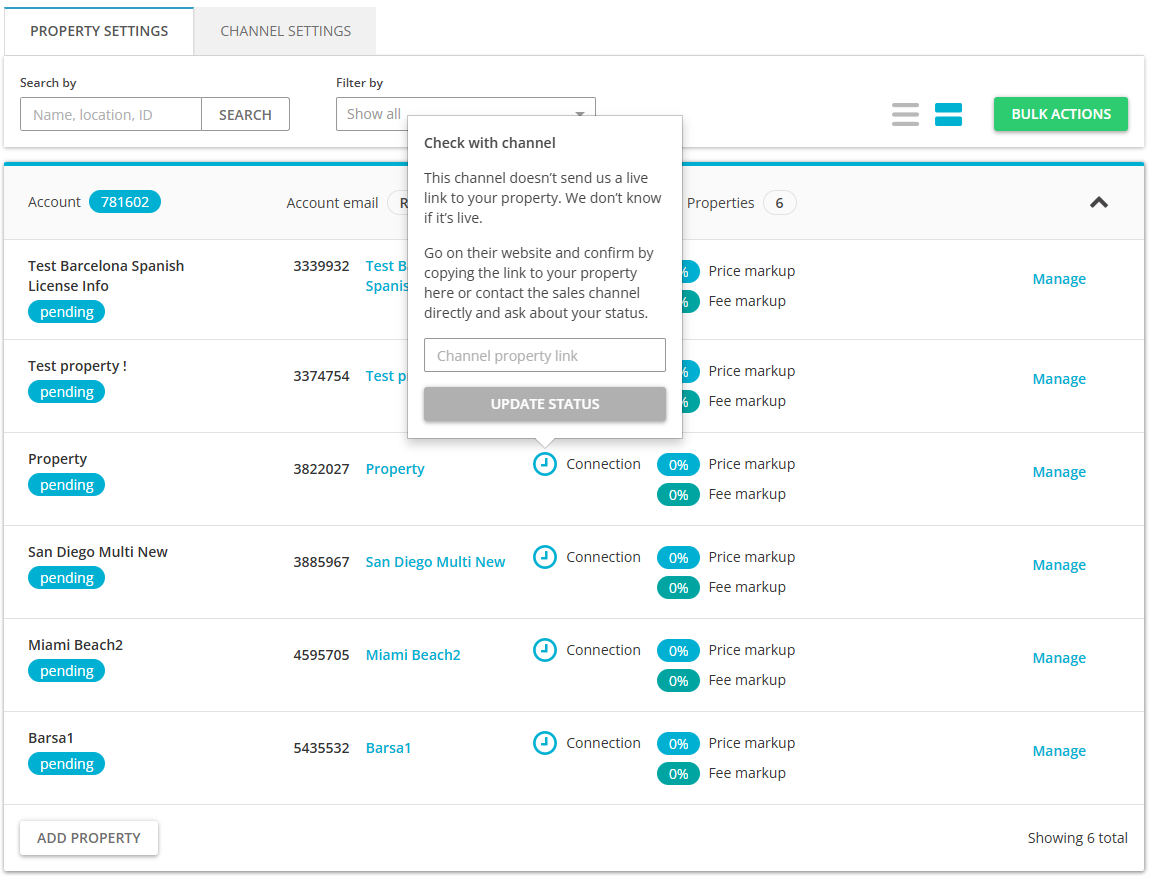
-
The property status changes to
Active and you can receive reservations now.Tip: It may happen that the verification reveals some errors. In such a case, perform the suggested steps. If the error persists, contact the Sales Channel Support Team in the first place.
Update listings
Sales Channel retrieves the property data per regular intervals. Hence, after the property content is updated in the Edit property page in Rentals United, it is the Sales Channel that is responsible for correct data retrieval. It is not possible to trigger the update from Rentals United.
Please, see the Integration overview to learn more about the frequency of data synchronisation.
Unlist from channel
-
In Rentals United platform, go to the Services tab.
-
Select the proper list to search for Sales Channel.
Find Services lists the channels you are not yet connected to,
My Services lists the channels which you have already established connection with and channels that are in the process of being connected.
Type the Sales Channel name in the search box or scroll down through the list of available channels.
Unfold the Sales Channel section by clicking the Down arrow button.
-
Click the Property Settings button.
Search for the property you want to deactivate by scrolling down or filtering the property out.
-
Click the Manage button.
-
A property management page is opened.

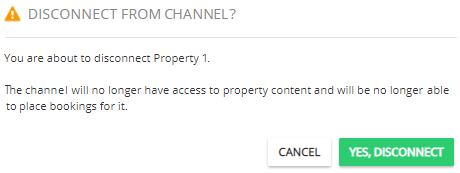
Click the Disconnect button.
-
A pop-up window is displayed. Confirm the action by clicking the Yes, disconnect button.