Add new page from template
Besides template pages that are pre-set in your My Website, you can also create a custom page and use it in any way you want, for example for privacy policy, additional services you offer or attractions in the nearby. See an exemplary page here.
-
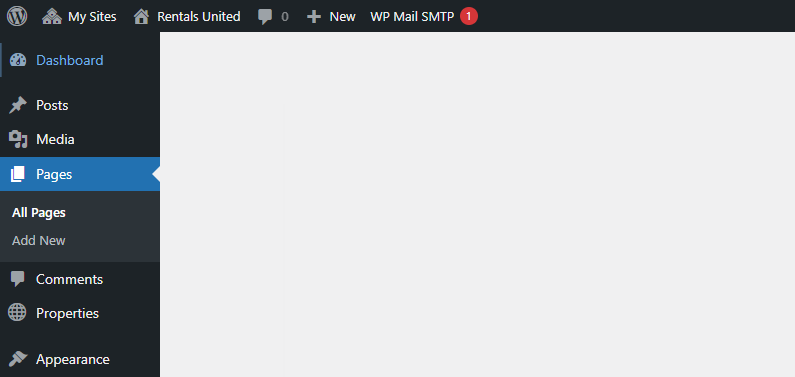
Go to Wordpress Admin and open the management menu.
-
Select Pages.
-
Click Add new.
-
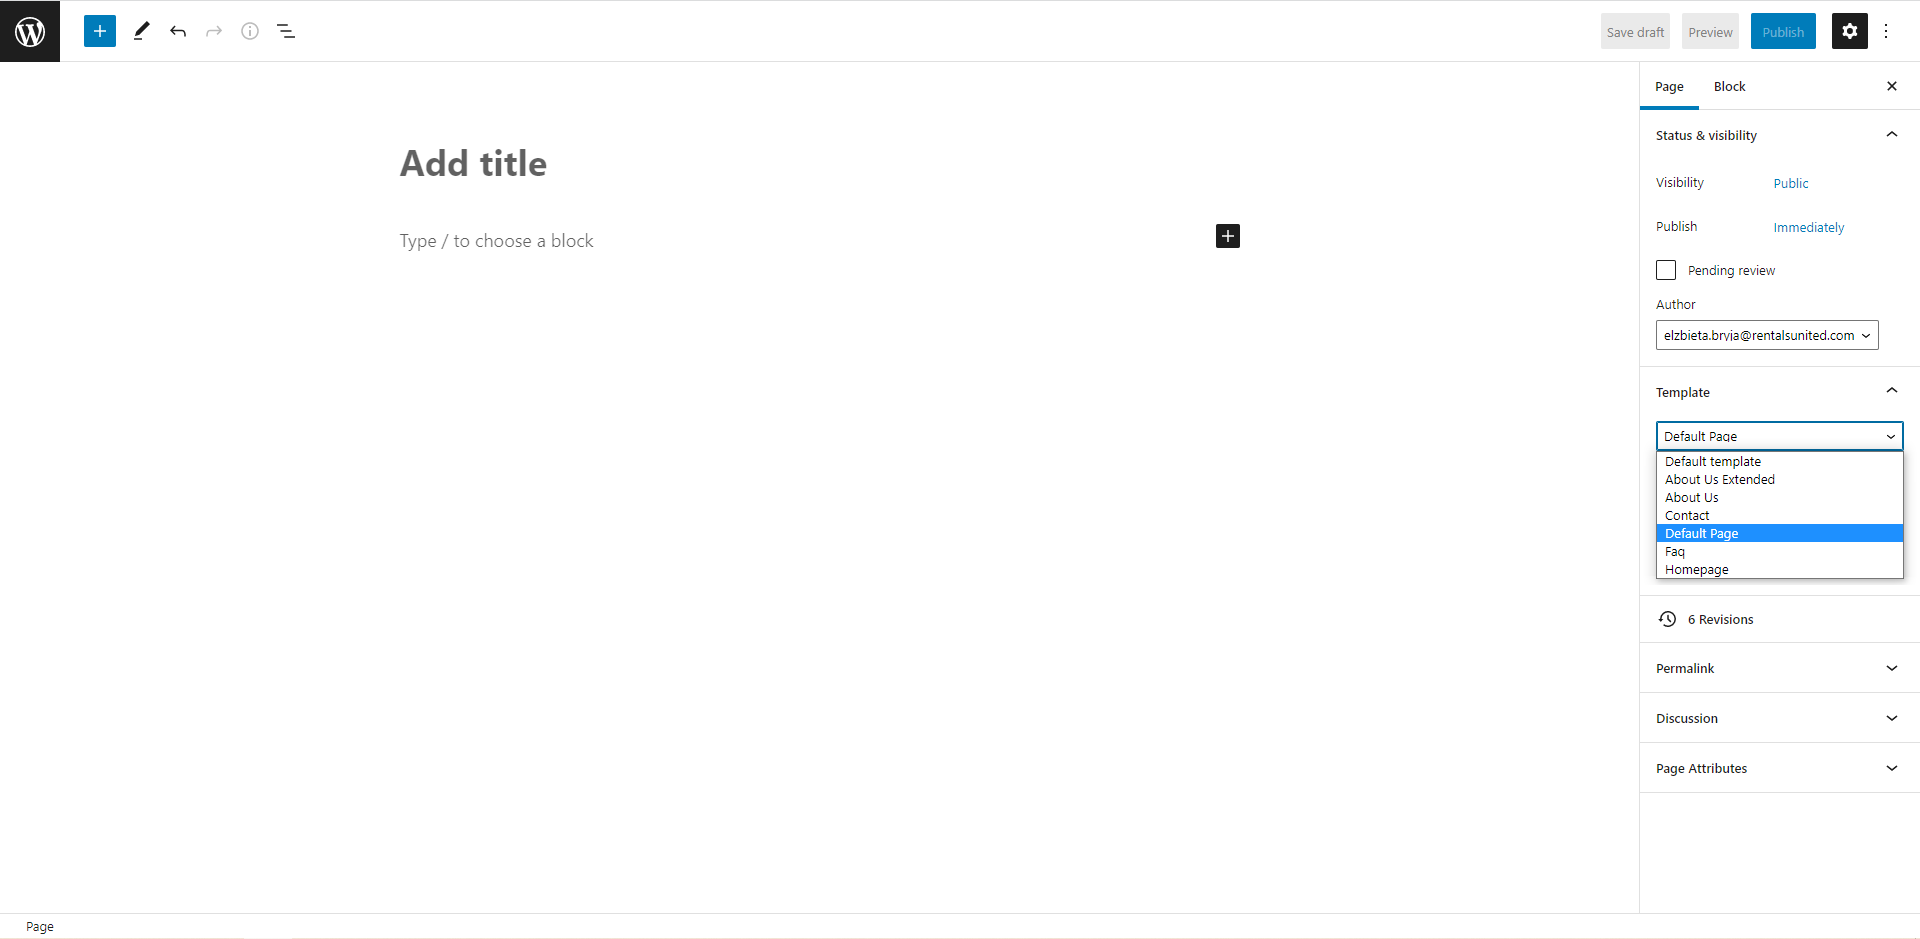
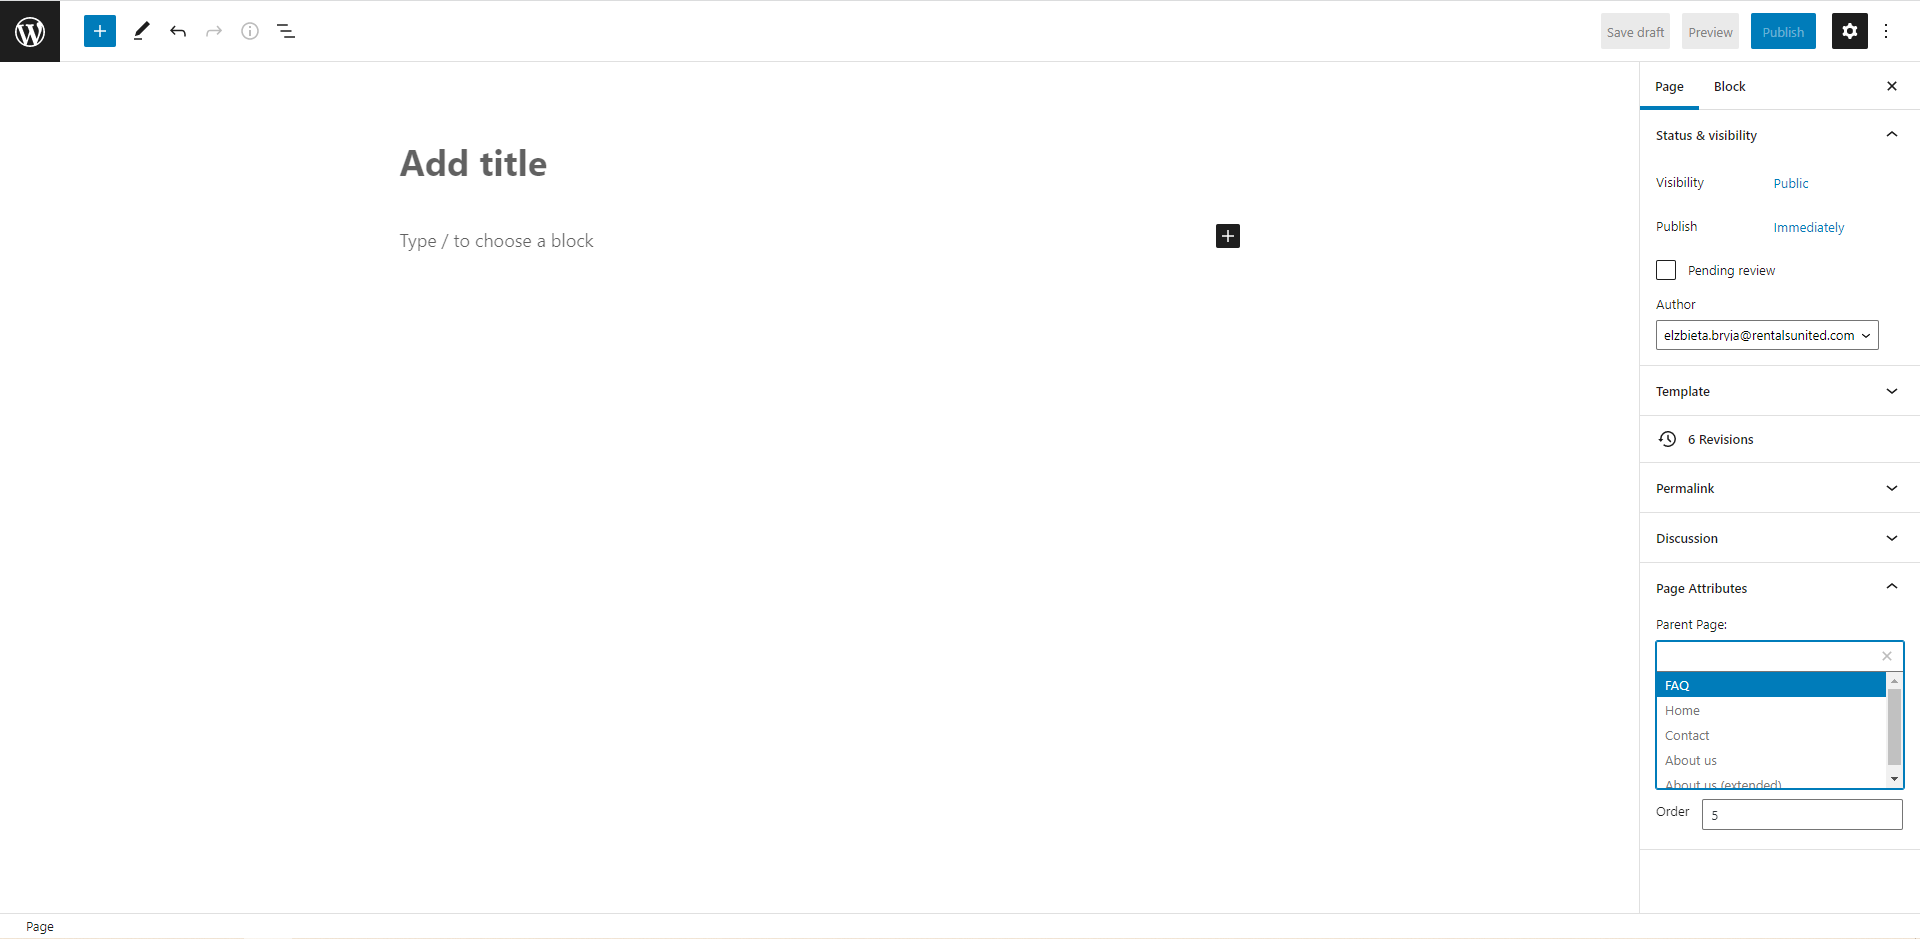
Select the Default Page from the Template section.
-
Add title (mandatory).
-
Click the
 icon to add another block, for example text, image, gallery etc. You have a lot of different elements to include in your website. Take time and explore them. Click Browse all to expand the options.
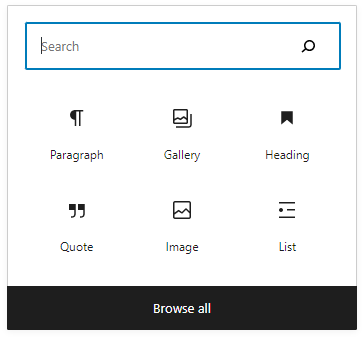
-
Click
 to save the changes and make your page public.
 -
Changes are immediately visible on your website.
Tip: Your new page is automatically added to the menu bar on your website. See Change the order of pages and Nest pages.
Change the order of pages

The order of template pages on the menu bar is pre-set, but it can be easily changed. If you Nest pages you can also change the order within the nested menu.
-
Go to Wordpress Admin and open the management menu.
-
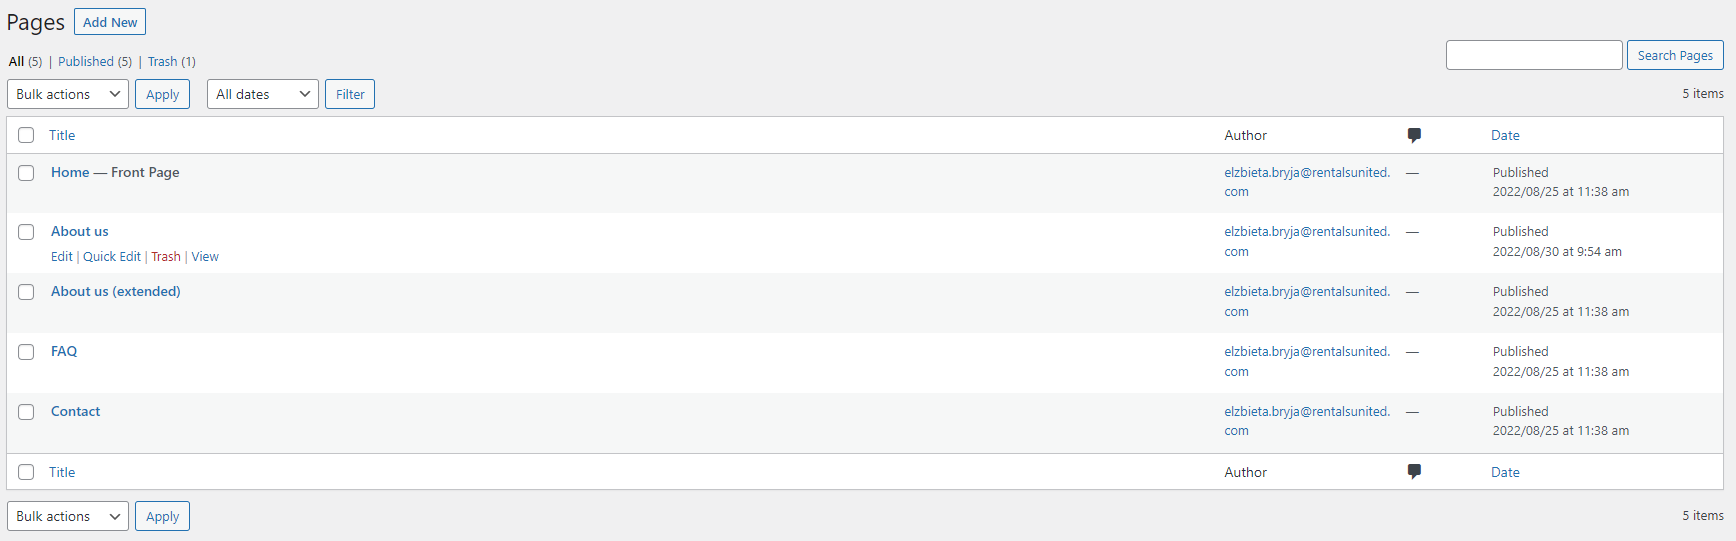
Select Pages.
-
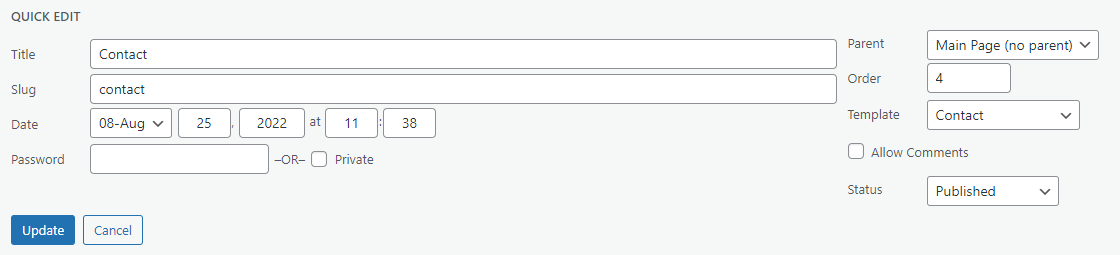
You can see now all the pages created for your website. Hover over any page. Management options appear: Edit, Quick Edit, Trash, View. Click Quick Edit.
-
Quick Edit menu opens. Take a look at the Order option. The number indicates the position on the main menu tab.
-
Click
 to save the changes!
 -
Changes are immediately visible on your website.
Nest pages

The menu tab on your homepage has limited space. In case you create many pages, they may not fit into this space. Nested menus are the solution to this. There are two ways of nesting pages: one from the Quick Edit menu, another from the Edit page.
Quick edit
-
Go to Wordpress Admin and open the management menu.
-
Select Pages.
-
You can see now all the pages created for your website. Hover over any page. Management options appear: Edit, Quick Edit, Trash, View. Click Quick Edit.
-
Quick Edit menu opens. Take a look at the Parent option. Unfold the dropdown and select the parent page.
Tip: If you nest multiple pages, you can specify their order by following the instructions in Change the order of pages. -
Click
to save the changes! -
Changes are immediately visible on your website.
Edit page
-
Go to Wordpress Admin and open the management menu.
-
Select Pages.
-
You can see now all the pages created for your website. Hover over About us page. Management options appear: Edit, Quick Edit, Trash, View. Click Edit.
-
Select the parent page from the Page attributes section.
-
Specify the order your child page should appear in the nested menu.
-
Click
to save the changes! -
Changes are immediately visible on your website.
Change the page's name
-
Go to Wordpress Admin and open the management menu.
-
Select Pages.
-
You can see now all the pages created for your website. Hover over any page. Management options appear: Edit, Quick Edit, Trash, View. Click Quick Edit.
-
Quick Edit menu opens. Update the text in the Title field.
-
Click
to save the changes! -
Changes are immediately visible on your website.
Publish and unpublish a page
You do not have to delete your page in order to remove it from your website. It is enough to change its status to unpublish it.
-
Go to Wordpress Admin and open the management menu.
-
Select Pages.
-
You can see now all the pages created for your website. Hover over any page. Management options appear: Edit, Quick Edit, Trash, View. Click Quick Edit.
-
Quick Edit menu opens. Take a look at the Status option.
-
Set it to Draft if you want to unpublish this page from your website.
-
Set it to Published if you want to make it public an accessible at your website.
-
-
Click
to save the changes! -
Changes are immediately visible on your website.
Edit menus
Your website consists of two menus: in the header (primary) and in the footer (secondary). By default, all pages you add will show up in both menus, but you can customise them. For example, the primary menu may contain only the most important pages while the secondary menu may contain all of them. This is especially useful when you have multiple pages and not all of them fit in the header's space.
Task: I want to have my new primary menu to contain Homepage, About us and Contact us pages only. I want my new secondary menu to contain all pages and automatically add each new page created.
-
Go to Wordpress Admin and open the management menu.
-
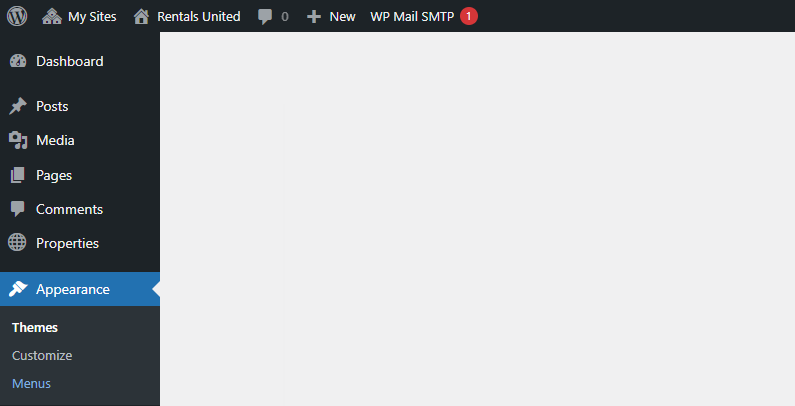
Select Appearance > Menus.
-
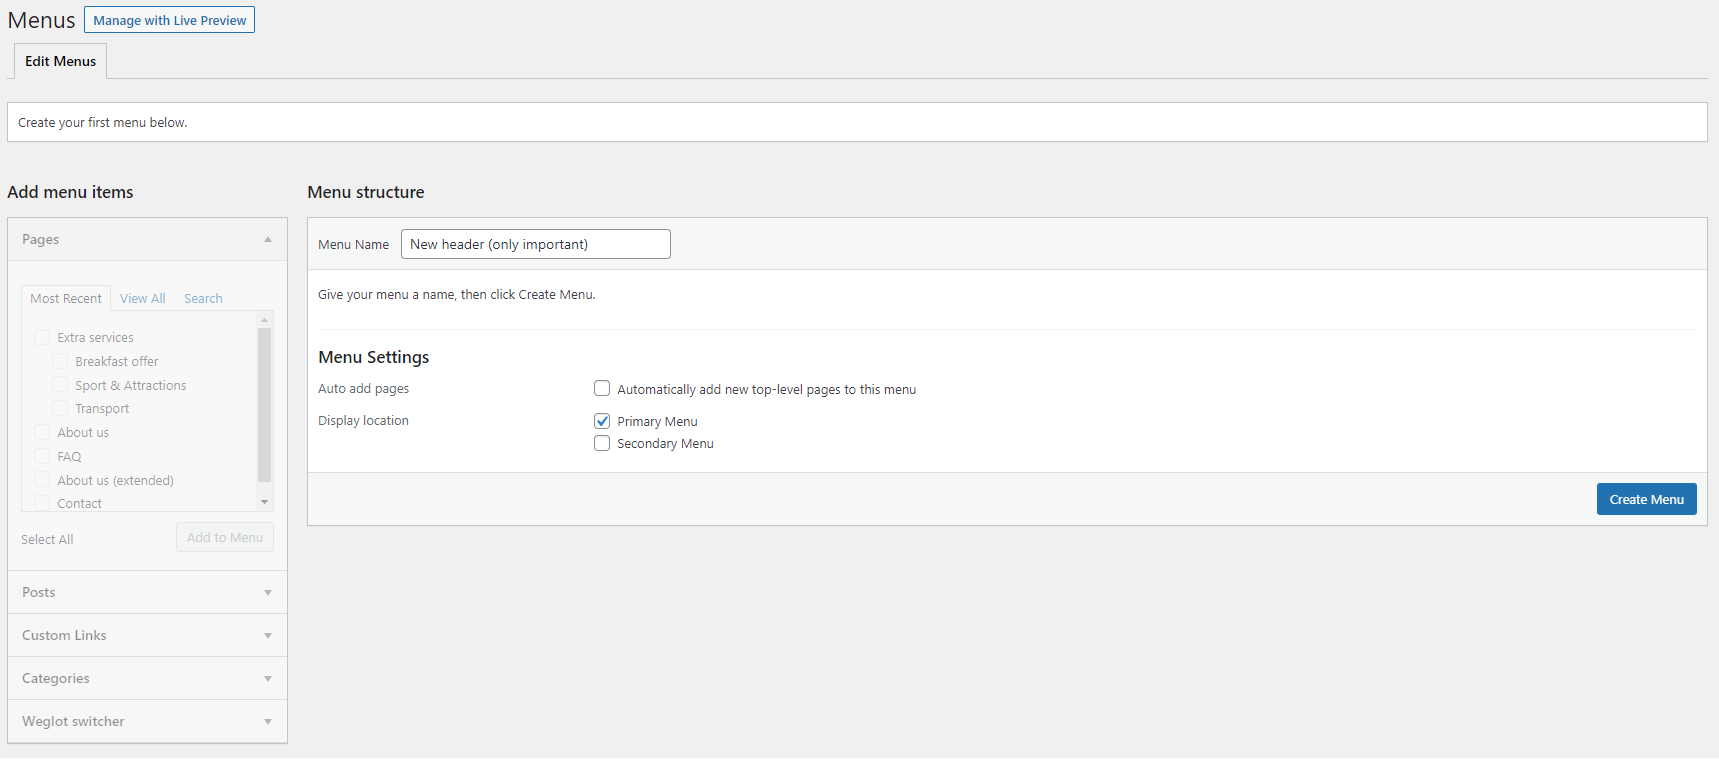
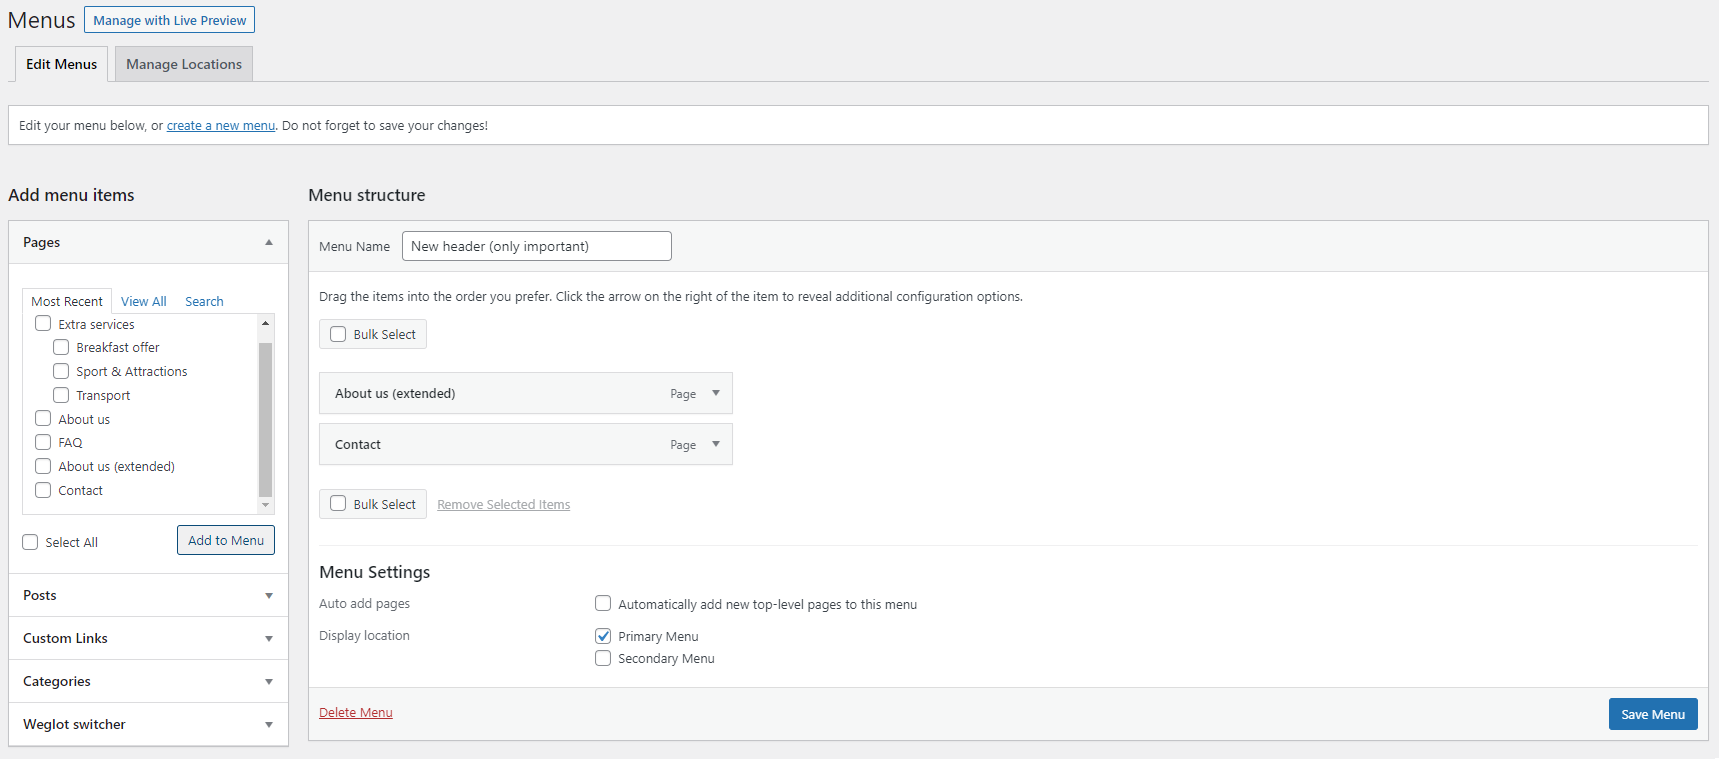
Give your new menu a name in Menu name and configure the basic settings.
-
Auto add pages: Decide if any newly created page should be added to this menu.
-
Display location: Decide on the menu's location.
Task: I want to have my new primary menu to contain Homepage, About us and Contact us pages only.
-
Auto add pages: Unchecked
-
Display location: Primary menu
-
-
Click Create menu.
-
See the Add menu items section and select pages you want to add to the menu. In the end, click the Add to menu button to confirm your selection. You can see the pages appear in the Menu structure section on the right. If needed, you can change their order. Click the Save menu button to save changes.
-
If you want to add the next menu, click create a new menu link. Give your new menu a name in Menu name and configure the basic settings.
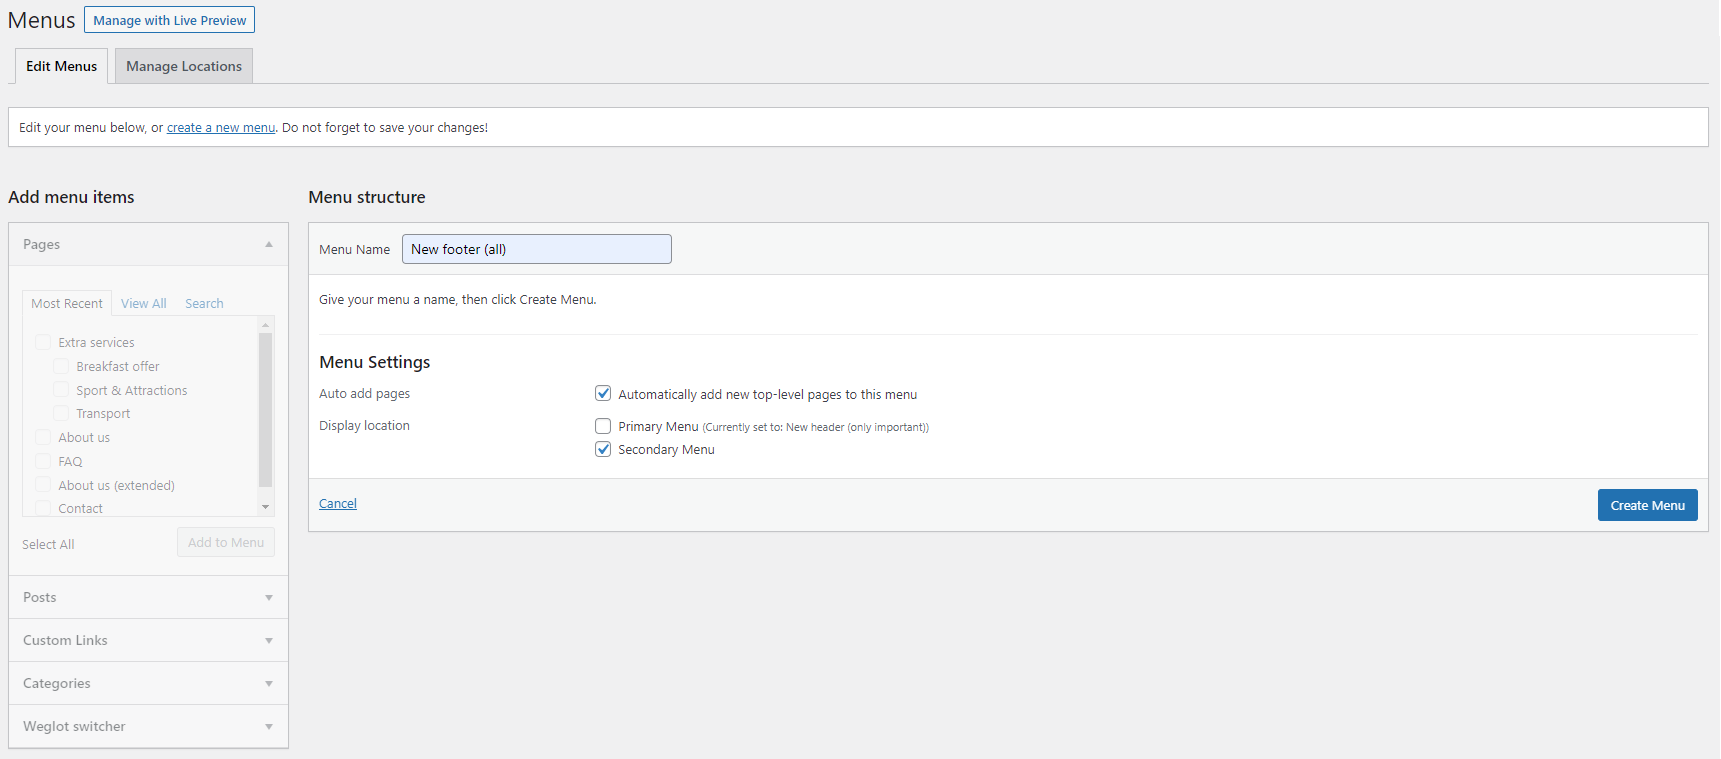
Task: I want to have my new secondary menu to contain all pages and automatically add each new page created.
-
Auto add pages: Checked
-
Display location: Secondary menu
-
-
Click Create menu. Click Select all and click Add to menu. You can see the pages appear in the Menu structure section on the right. If needed, you can change their order. Click the Save menu button to save changes. Changes are immediately visible on your website.
-
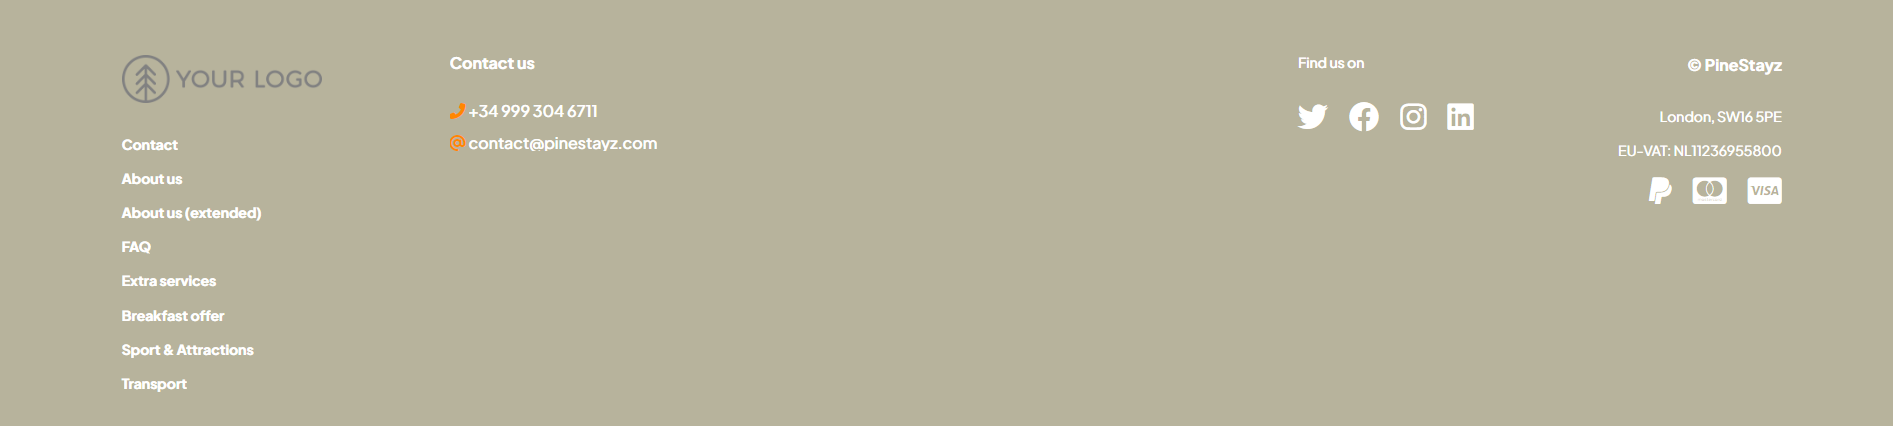
Your header and footer menus get updated. You can see the changes live.

Add custom pages
Template pages like About us, About us (extended), FAQ, Contact, but also the default page (see here) are pages that are created in Wordpress and are placed within your website. When opening them, you are not leaving your website at all.
However, you may want to link from your menu to some external websites, for example your company website, Google Maps review page or a video overview uploaded to a video sharing platform like YouTube. Heres how you can do it.
-
Go to Wordpress Admin and open the management menu.
-
Select Appearance > Menus.
-
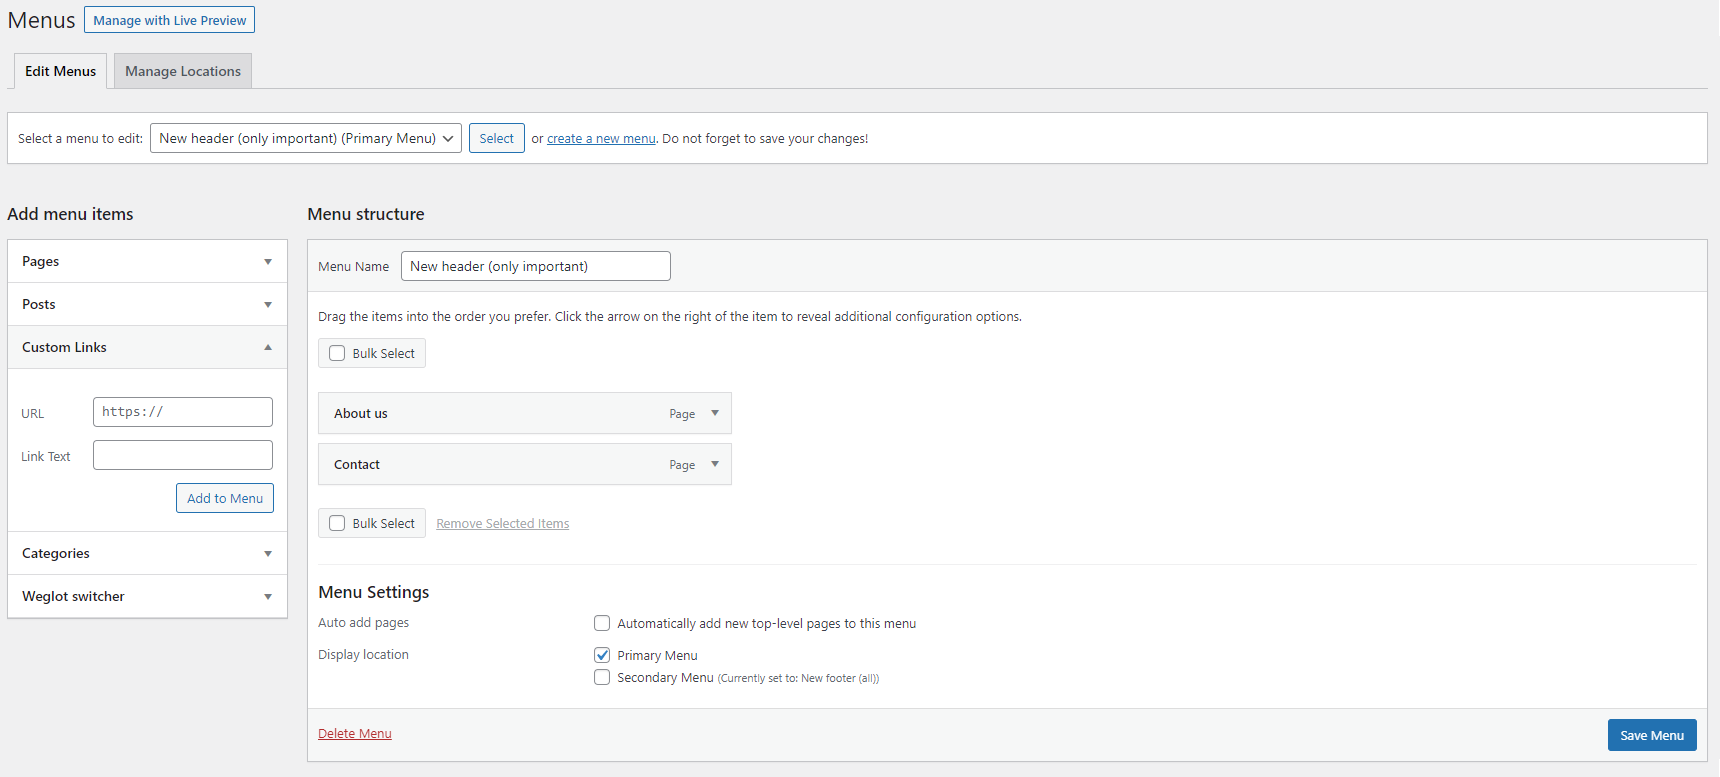
Select the menu where you would like to add a custom page to. Unfold the dropdown and choose the menu you would like to add external link to. Click Select.
 Tip: If you have not created the custom menu yet, see Edit menus first. After you create your custom menu, come back here.
 -
Unfold the Custom links menu on the right. Provide the URL to the website you would like to link to. Click Add to menu.
 Tip: If needed, change the order of the pages in your custom menu by dragging and dropping them.
 -
Click Save menu.