About us is a must-have for each property manager who wants to build up their brand. Give your guests an insight into your story and develop relation with them. Make your guests feel attached and convinced by the idea behind your rentals. Do you offer apartments in the top city locations? Or maybe establishing of your rental business has a true valuable story behind? Show your guests why your brand is unique and why it is you who they should choose.

Edit page
-
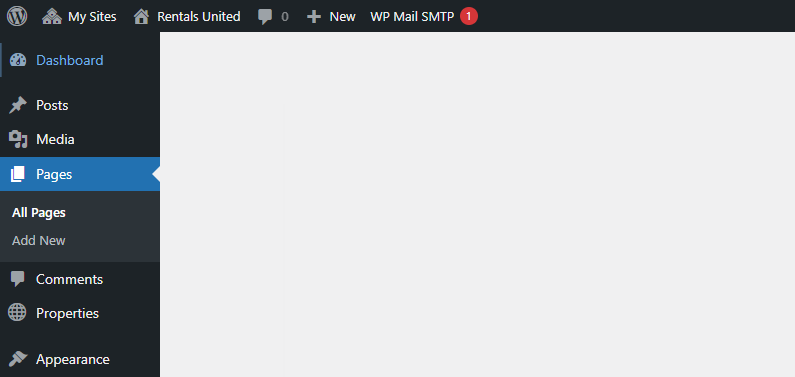
Go to Wordpress Admin and open the management menu.
-
Select Pages.
-
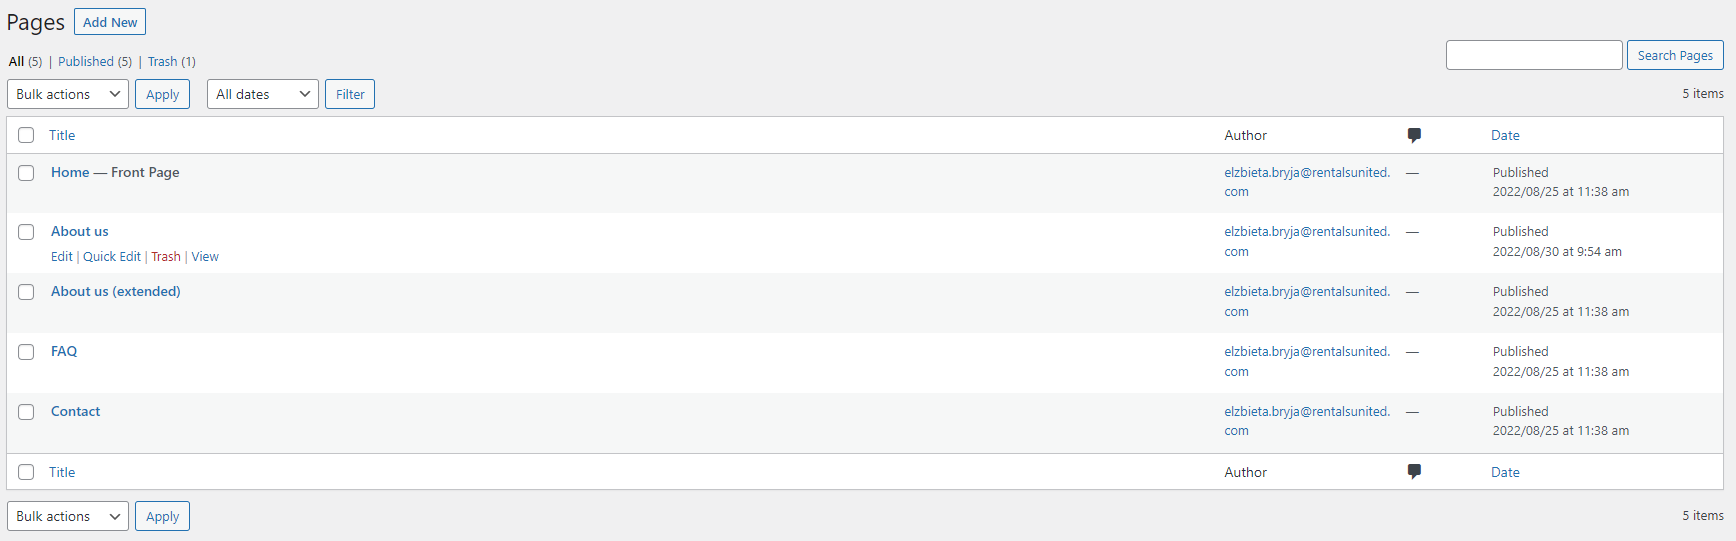
You can see now all the pages created for your website. Hover over About us (extended) page. Management options appear: Edit, Quick Edit, Trash, View. Click Edit.
-
You are taken to the About us (extended) edit page.
Note: If you can't see additional options on the bottom of the Edit page, it means that it may be folded. Scroll to the bottom and find a long tab with the page name. Click on its name to expand it. Then, you will see the relevant options.
Add main image
-
Open About us (extended) Edit page as described here.
-
Scroll down to the Hero image section.
-
Click Add image.
-
A new window opens. If you uploaded any images before, you can find them in the Media library. Otherwise, switch tabs to Upload files and browse your computer. Select the image and click Select in the bottom right corner.
Tip: If you have already added the image and now you would like to change it, hover over the image. Two icons appear in the top right corner: Edit and Remove. Click Remove. Then, select a new image. -
Click
 to save the changes!
 -
Changes are immediately visible on your website.
About us (extended)
-
Open About us (extended) Edit page as described here.
-
Scroll down to the Hero text section. You can see there some predefined text.
-
Write your own text.
-
Click
to save the changes! -
Changes are immediately visible on your website.
Hero button
It is possible to place an additional button under the About us (extended) text. The button is already located there and by default links to the Contact us page. However, you may customize it according to your need. Some of the ideas how to use this button are the company main website, Google Maps company review page, FAQ and more.
-
Open About us (extended) Edit page as described here.
-
Scroll down to the Hero button section.
-
Click the edit icon (pencil) or the Select link button (if there is no button created).
-
Insert/edit link menu opens. Select the page you would like the button to link to.
-
provide the URL of an external page and the text that will be displayed
-
select the Wordpress page from the list or start typing its name to narrow down the results
-
-
Click
to save the URL changes. -
Again, click
in the top right corner to save the changes. -
Changes are immediately visible on your website.
Our company in numbers
In this section, you can show off some statistics that you are especially proud of and that make you stand out from other property managers.
Here are a few options you can include in this chart:
-
number of reviews in a year and average review score
-
number of happy customers
-
number of properties you have
-
number of partners you work with
-
number of continents, countries or cities you have your properties in
-
Open About us (extended) Edit page as described here.
-
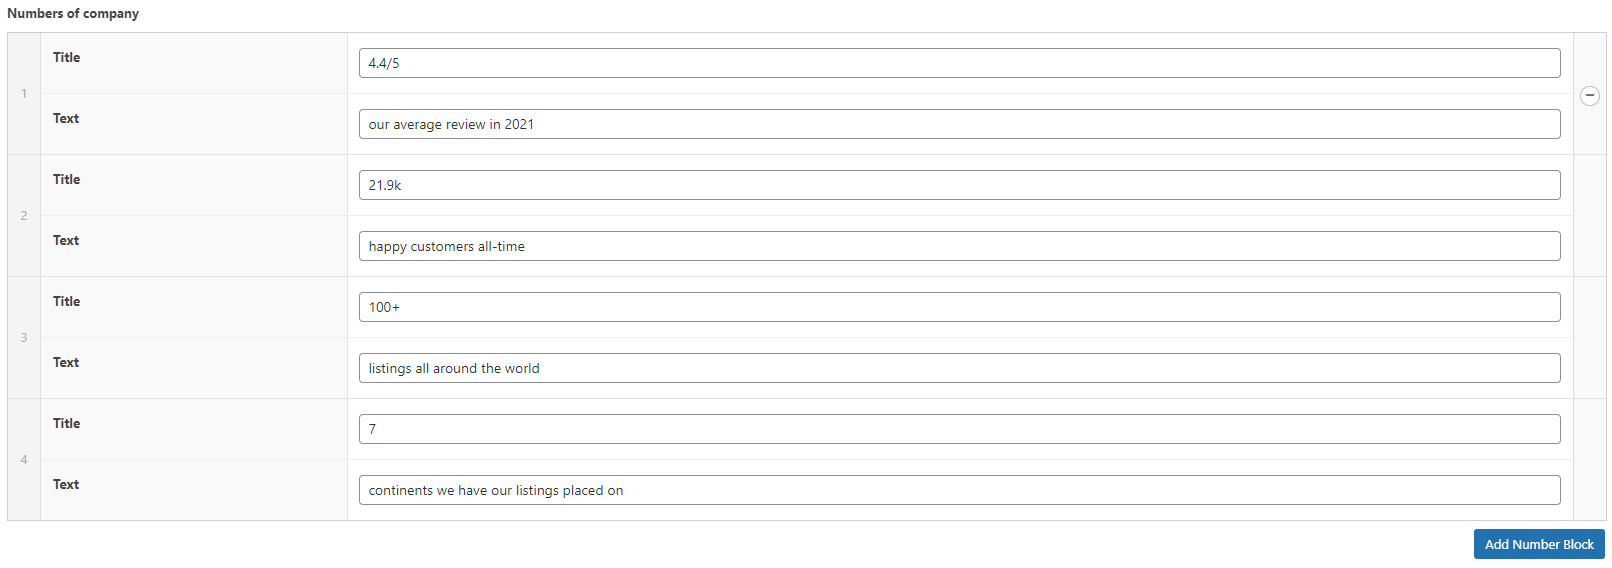
Scroll down to the Numbers of company section.
-
Each tile consists of two elements: Title and Text. Put the number in the Title text, e.g. your average review score. Add complementary description in the Text field, e.g. "our average review in 2021". Edit the remaining fields in the same way. The maximum number of tiles is 4.
Note: None of these fields is mandatory. You can edit it the way you want, for example leave the Title field empty and provide more information in the Text field. Use the available fields, so that you can achieve the targeted outcome. Bear in mind the experience of your guests and what they would like to learn from and see on your website.Tip: You can remove the tiles if you wish. Hover over the tile. The minus icon appears next to it. Click it and confirm the deletion. Remove all tiles and the section will disappear from your website. If you want to add more tiles, click the Add number block button on the right. -
Click
to save the changes! -
Changes are immediately visible on your website.

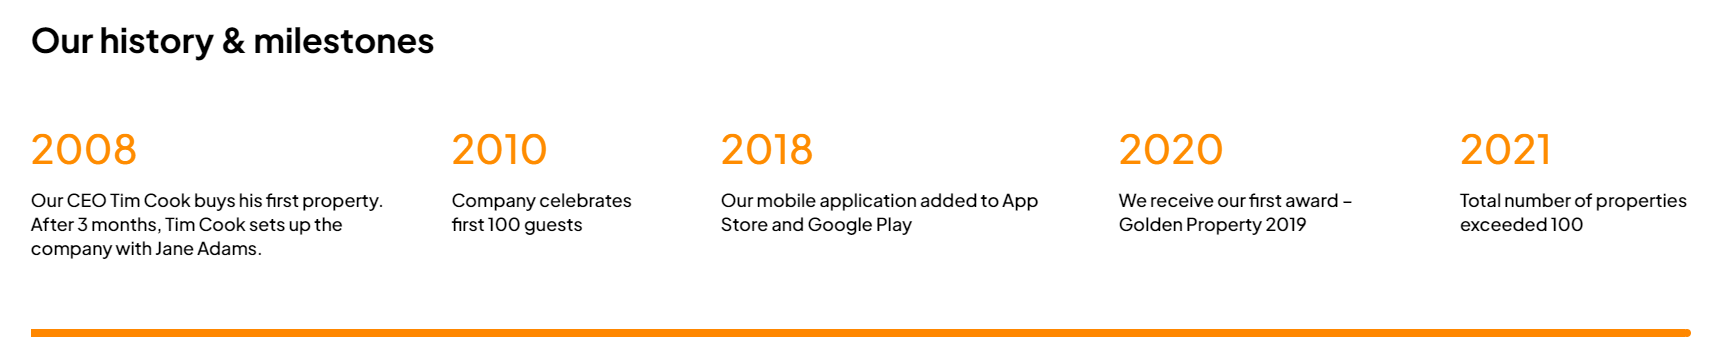
Our history & milestones
Here you can share your company journey from the very beginning to where you are now. Make sure it shows you in a positive light - as a successful, developing company. Highlight the biggest milestones and include interesting facts.
Here are a few options you can include in this chart:
-
who and when established the company
-
interesting story of how the company was set up
-
awards won
-
applications launched
-
new market openings
-
moving into different headquarters
-
certain number of hosted guests and owned properties
-
events organized under your company
-
sponsorships and partnerships signed
-
Open About us (extended) Edit page as described here.
-
Scroll down to the History and/or milestones of company section.

-
Each tile consists of two elements: Title and Text. Put the number in the Title text, e.g. the year of the achievement/event. Add complementary description in the Text field, e.g. "The first company mobile application launched". Edit the remaining fields in the same way. The maximum number of tiles is 5.
Note: None of these fields is mandatory. You can edit it the way you want. Bear in mind the experience of your guests and what they would like to learn from and see on your website.Tip: You can remove the tiles if you wish. Hover over the tile. The minus icon appears next to it. Click it and confirm the deletion. Remove all tiles and the section will disappear from your website. If you want to add more tiles, click the Add block button on the right. -
Click
to save the changes! -
Changes are immediately visible on your website.
Link for FAQ
About us (extended) page by default includes a link to FAQ, which is yet another template page available in My Website.
You can read more about the FAQ page customization and purpose here.

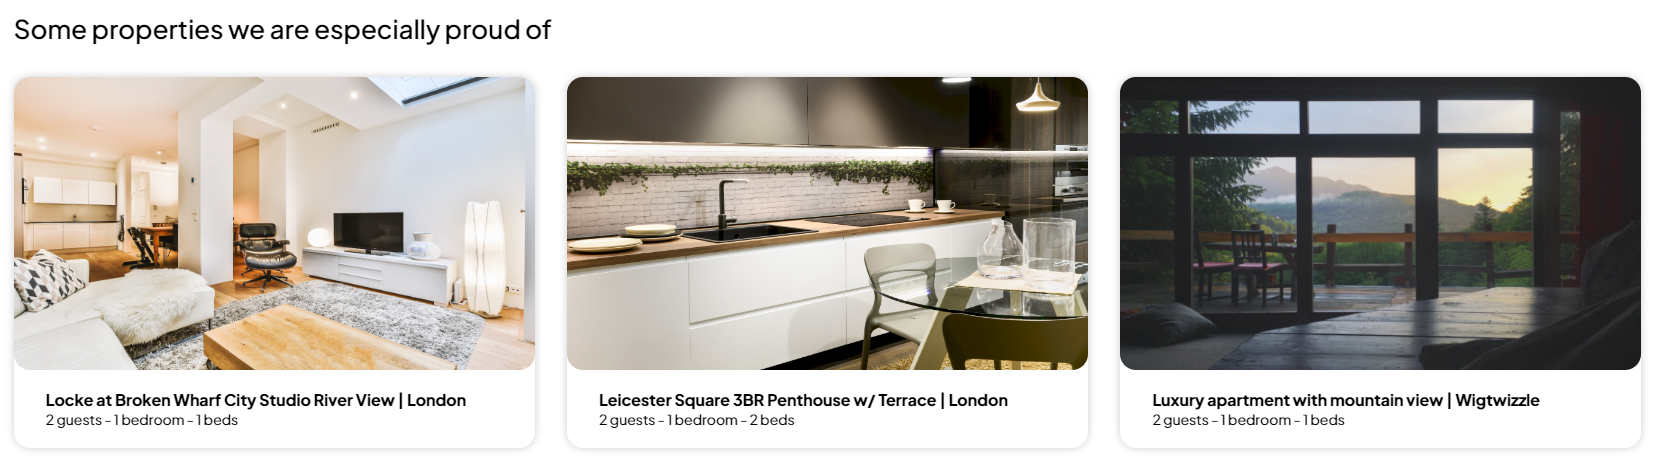
Choose properties
Take advantage of the fact that your guest got interested in your website and took effort to browse through some pages. This is a good time to draw their attention to some of your most exquisite and top-performing properties. It increases the chance that your guest eventually decides to book a stay with you or chooses a more-expensive property.
-
Open About us (extended) Edit page as described here.
-
Scroll down to the Choose properties section.
-
Select the properties you want to recommend. Click on the property name in the left-side column. Choose maximum 4 properties. Selected properties get greyed out and are moved to the right-side column.
Tip: If you don't want to display certain property any longer, hover over its name in the right-side column. A minus icon appears next to it. Clicking it removes the property from the recommended properties. -
Click
to save the changes! -
Changes are immediately visible on your website.
Button
It is possible to place an additional button at the very bottom of the About us (extended) page. You may use it to redirect your guests to you main company website, homepage, FAQ or many more.
-
Open About us (extended) Edit page as described here.
-
Scroll down to the Button section.
-
Click the edit icon (pencil) or the Select link button (if there is no button created).
-
Insert/edit link menu opens. Select the page you would like the button to link to.
-
provide the URL of an external page and the text that will be displayed
-
select the Wordpress page from the list or start typing its name to narrow down the results
-
-
Click
to save the URL changes. -
Again, click
in the top right corner to save the changes. -
Changes are immediately visible on your website.