Establishing connection
In order to start advertising on Trip.com, you need to establish the connection with this Trip.com. You can do this by adding it to the list of services in your account. Follow the below steps in order to get connected.
-
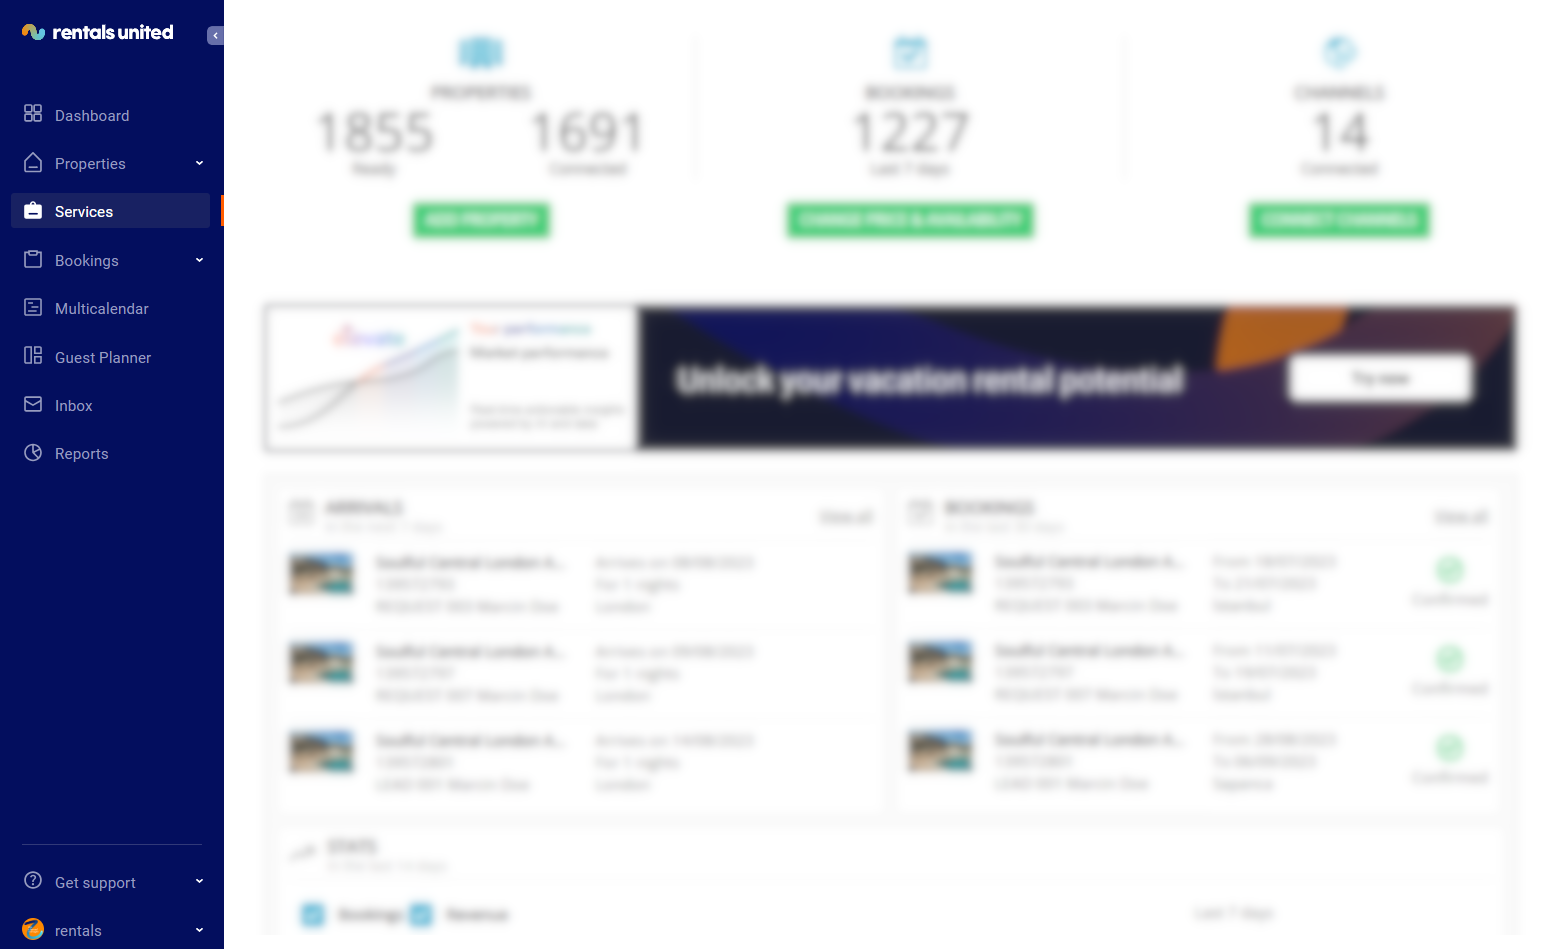
In Rentals United platform, go to the Services tab.
-
Click the Find Services tab.
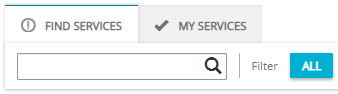
- Type Trip.com in the search box or scroll down through the list of available channels.
- Unfold the Trip.com section by clicking the Down arrow button.
-
Click the Get connected button.

-
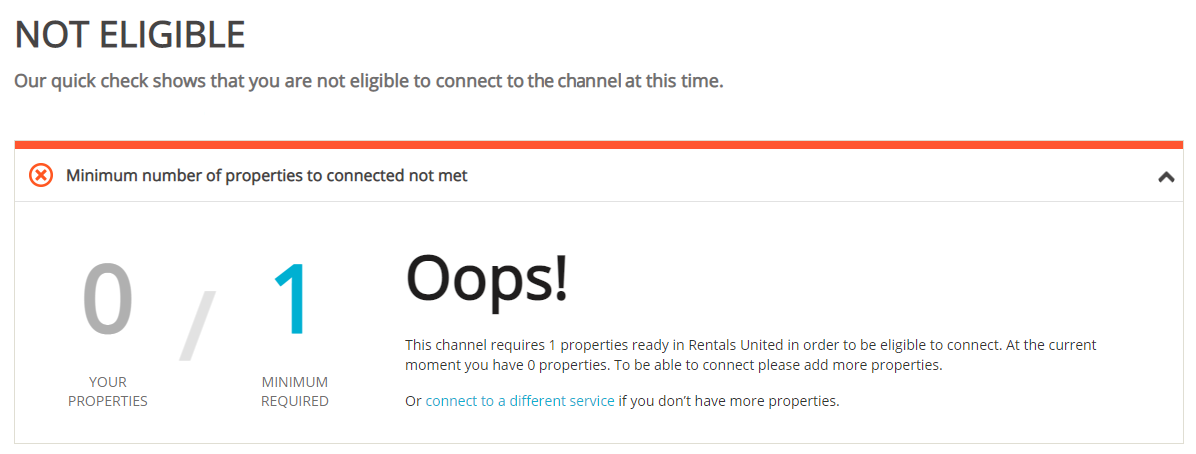
Your connection is now being validated in the background. If the validation is passed successfully, the Connection Wizard is launched and you can go to the next step. If you are not eligible to connect to Trip.com, an error is displayed.
Eligibility errors indicate violating initial channel requirements that need to be met before you establish the connection. You will not be able to go to the next step and finish the connection process unless the eligibility error is cleared away. In order to resolve it, follow the instructions displayed on the screen. Please, see an exemplary eligibility error below.
-
You are presented with a brief description on how the Trip.com works. Read it carefully and confirm that you agree with it by ticking the checkbox below. Do not worry, once all the steps of the Connection Wizard are completed, you will still be able to view the How it works content again. Click the Save & Next button on the bottom of the page to move to the next step.
Tip: On the top of the page, you can view the progress of the Connection Wizard. Depending on the channel, the number of steps may differ. You can stop anywhere along the process. Upon next time you open the Connection Wizard, you will continue at the last completed step. - Follow the next steps displayed in Rentals United.
Create new listing
If you already have some properties created in Rentals United and you want to start advertising them on Trip.com.
In Rentals United platform, open Property Settings. Follow the steps here.
-
Connect the property.
Depending on whether you already have some properties connected to the Trip.com or not, you are presented with two different options.
- Click
 if it is the first property to be connected.
 - Click
 if you already have some properties connected.
- Click
- A dialogue window appears with the question if the property is already published in Trip.com.
- If the property is listed in Trip.com, terminate the process and map your properties to the Trip.com listings.
- If the property is not listed in Trip.com, click No.
-
Provide the required information and click Next.
Note: Different channels require different information to successfully identify your account:
- For Trip.com it is Code Context. For properties connected through Rentals United always use 1339.
If you cannot find this information in your agreement with the channel, please contact the channel directly.
-
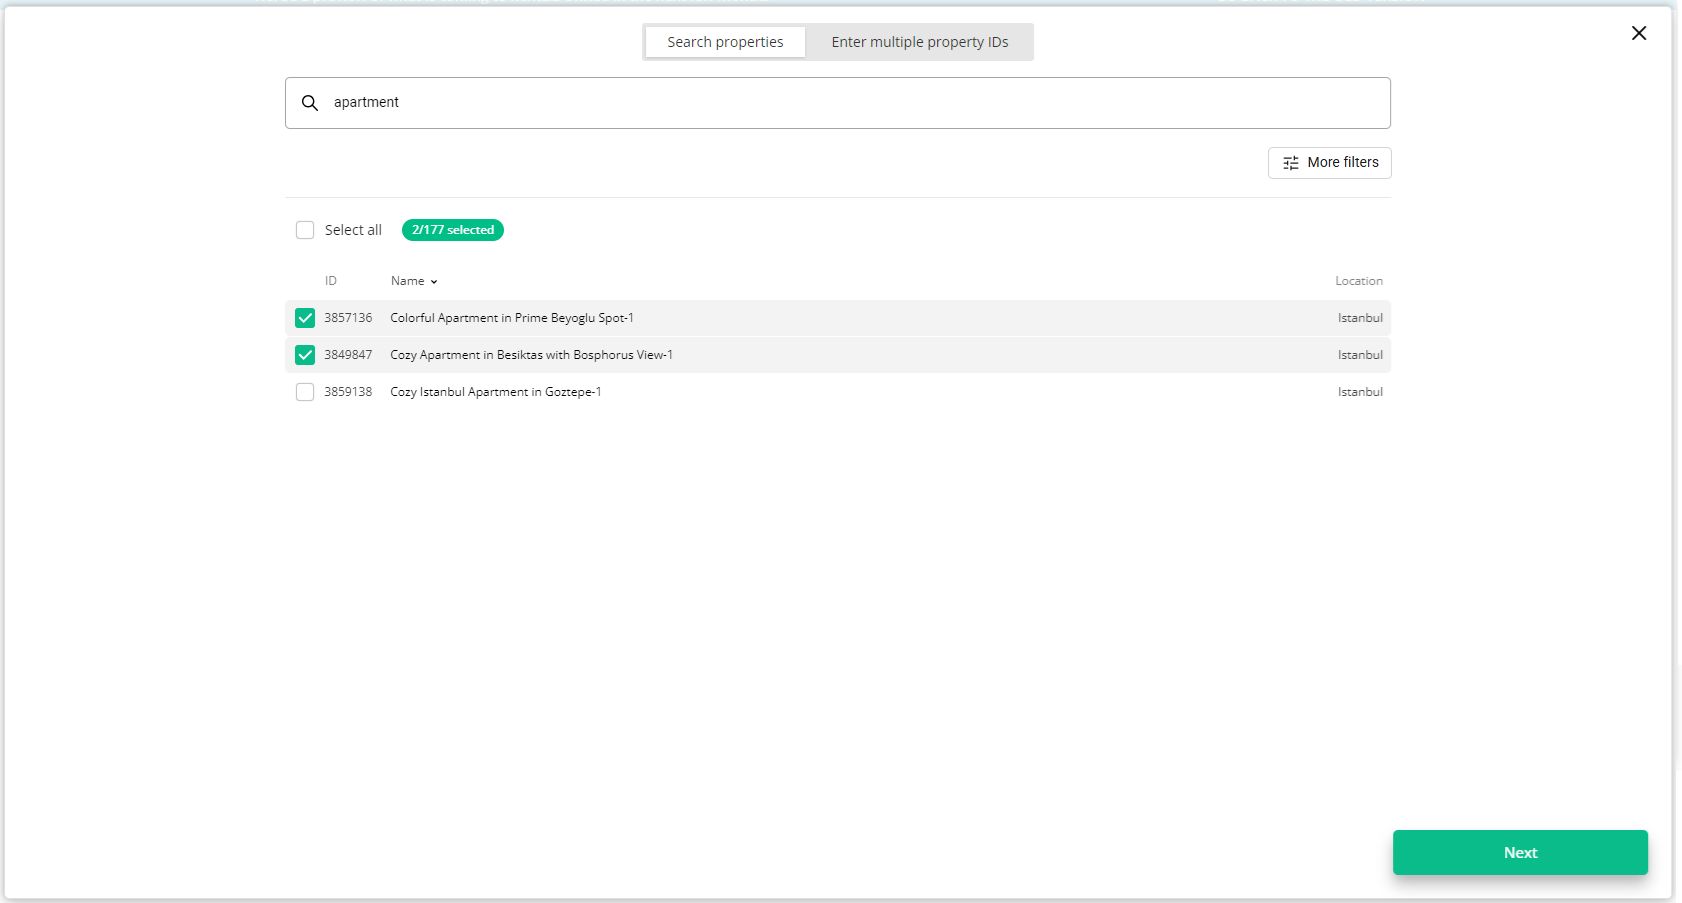
Choose the properties. You can read about the different ways of filtering and selecting properties here.
-
Click Next. You will see here the summary of all selected properties. Review the list and check if all properties are included.
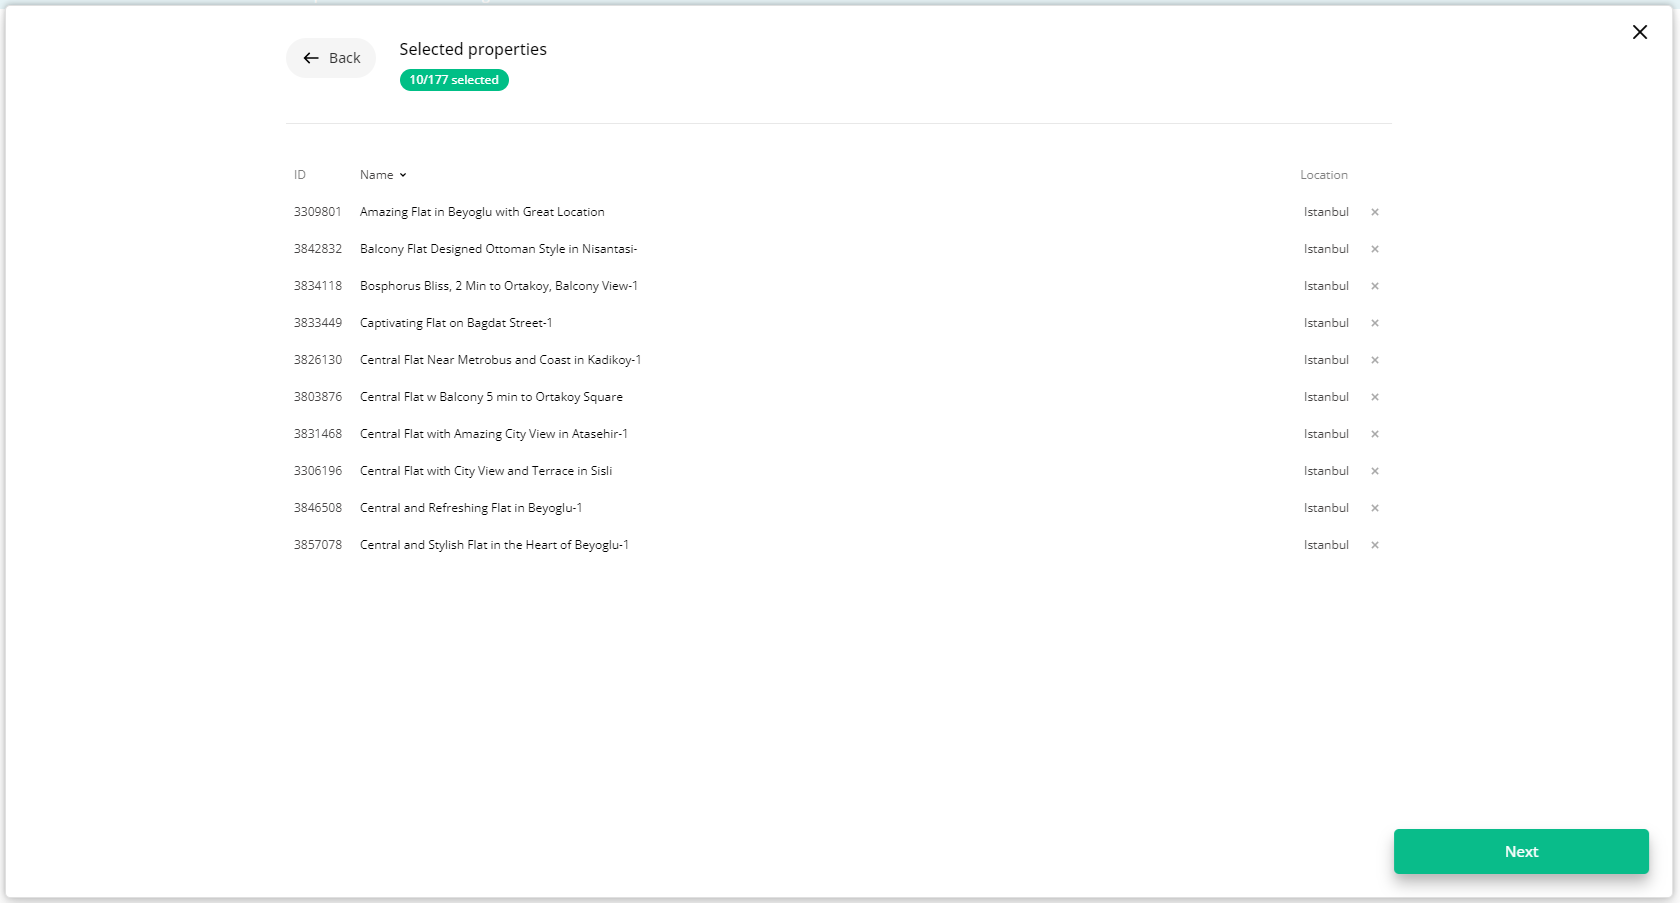
- Click Next to proceed.
- The content quality is analysed. The process should take up to a few minutes.
-
The summary of properties’ content is displayed.
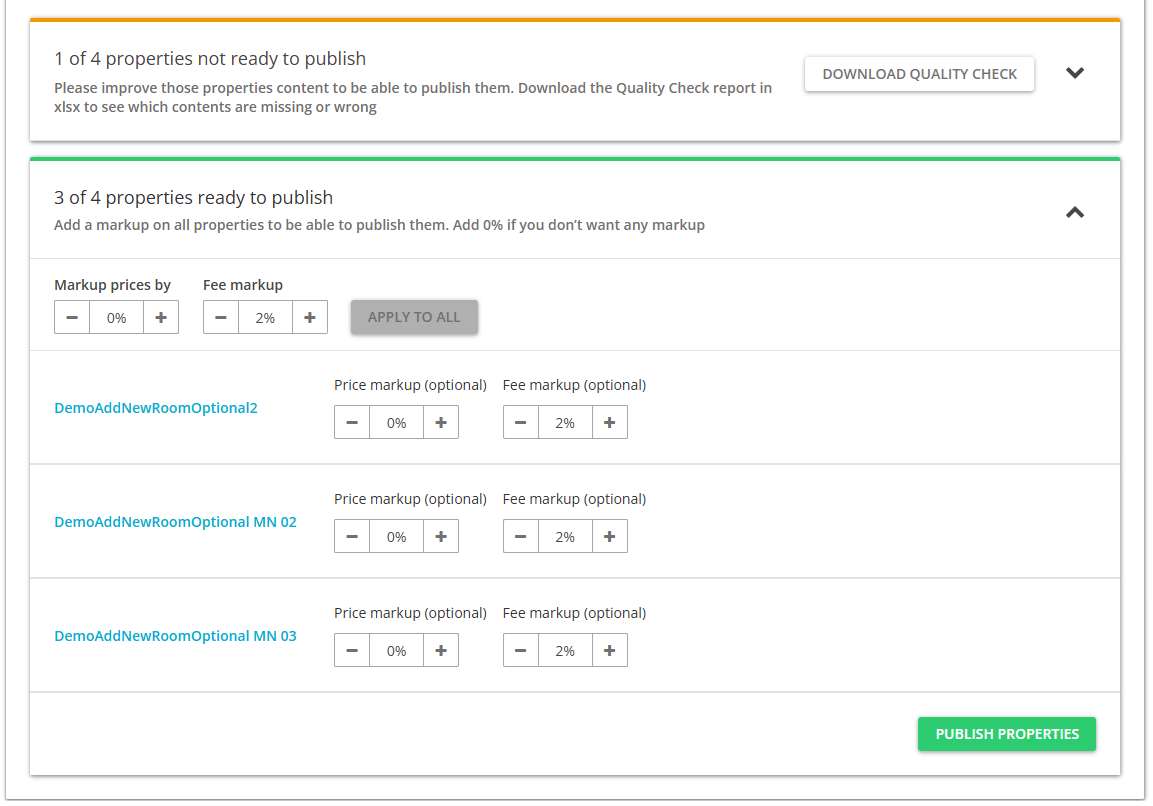 If some properties are not ready to publish, improve the content.
-
Check the content quality by unfolding the section with warning.
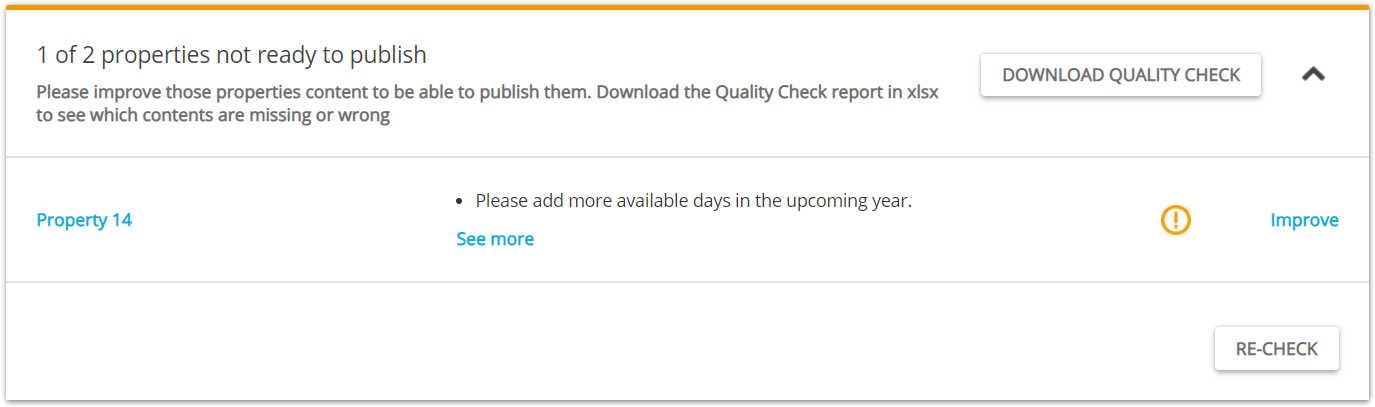
Verify if any data is missing or incorrect. It is possible to display the errors by unfolding the section. For more detailed summary of errors, download the XLSX report by clicking the Download Quality Check button.
- Click the Improve button. The Edit property page is opened in a new tab.
- Correct the content indicated in the report in the Edit property page.
-
Go back to the Property List and click the Re-check button. If no further errors are displayed, the property is ready to publish.
-
-
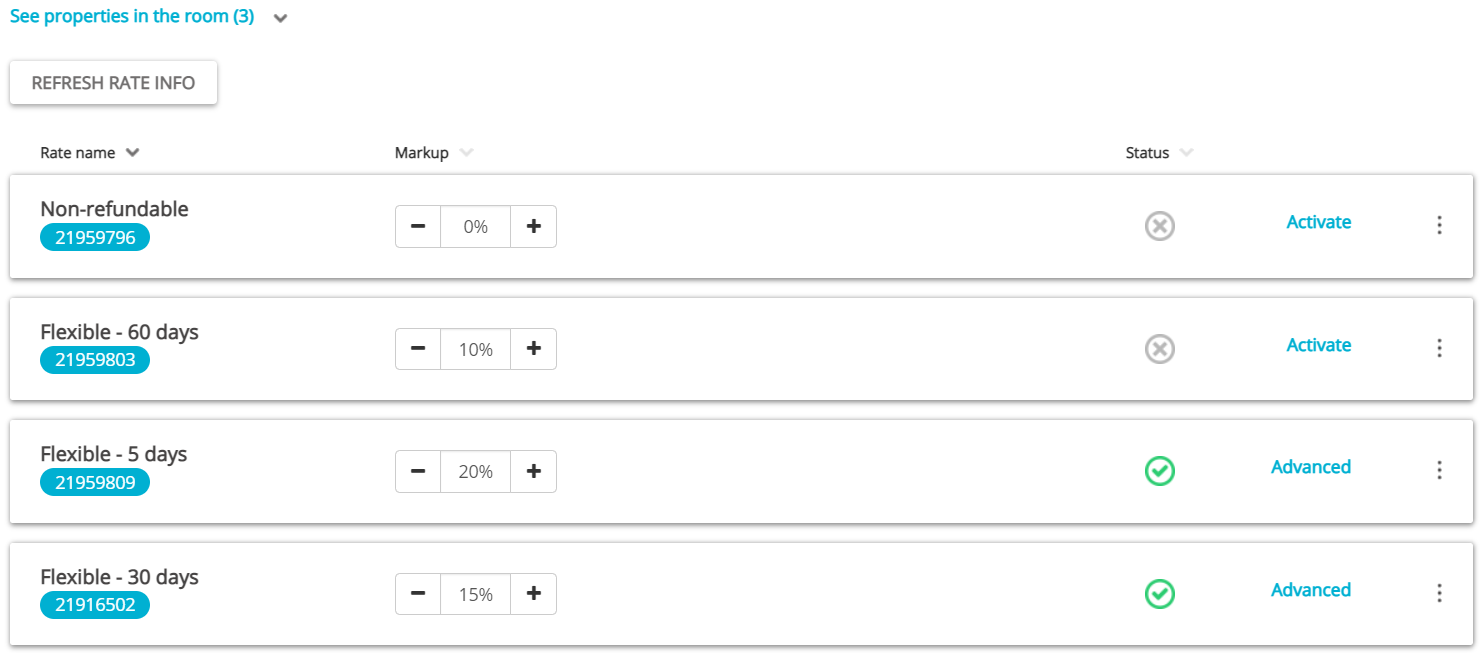
If the properties are ready to publish, adjust the mark-up for each of your properties. You can additionally set up the booking mode for each property: Instant booking or Request to book. See here.
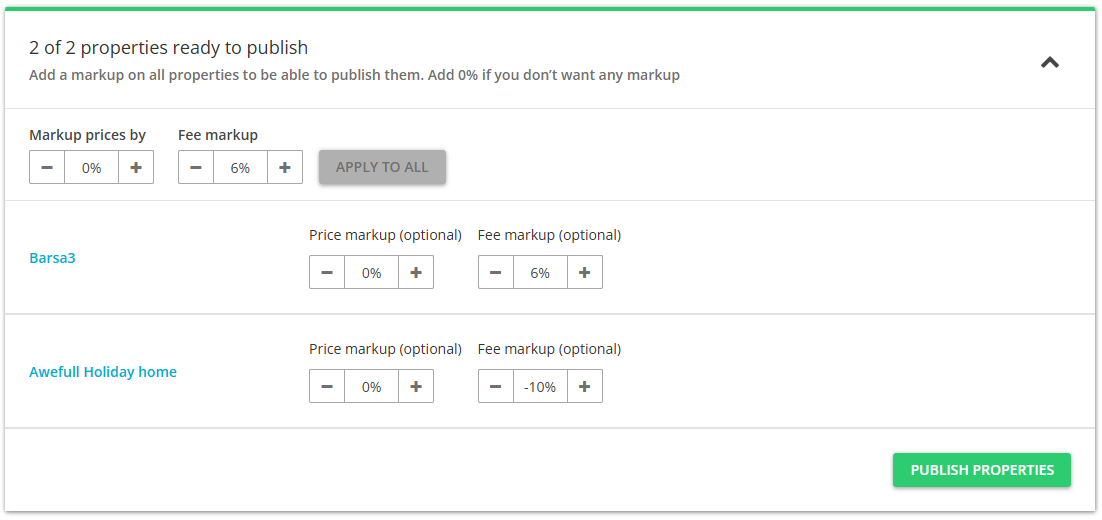
- Click the Publish properties button.
-
The published properties enter the
 Pending status.Tip: Each property created this way in Trip.com will become a hotel with only one room type.
Trip.com has 24 hours to create your property in their system. Your property will remain in the Pending status for this time. After 24 hours, our system will check if the property was created in the Trip.com system. If the property and rate plan are created in the Trip.com system, we will then update the availability and pricing. Your property will enter in the Active status.
Mapping properties to existing listings (N/A)
Refreshing the synchronization settings (N/A)
Updating listings
If you make changes to your property's content, e.g. update descriptions or photos, you need to remember to update the listing, too. If you do not update the listing - your recent changes will not be visible on the sales channel and the listing will display outdated information.
Remember that price and availability (ARI) updates are handled automatically and there is no need to update the listing if you change e.g. prices. The details that require updating the listing are static data updates and these include descriptions, photos, property data, fees and taxes and more. For details, see here.
For Trip.com, updates are possible only in the following configuration:
- one hotel - one room - one rate
If you need to update the channel for properties in a different set-up, please contact the Rentals United Support Team and we will carry this on for you.
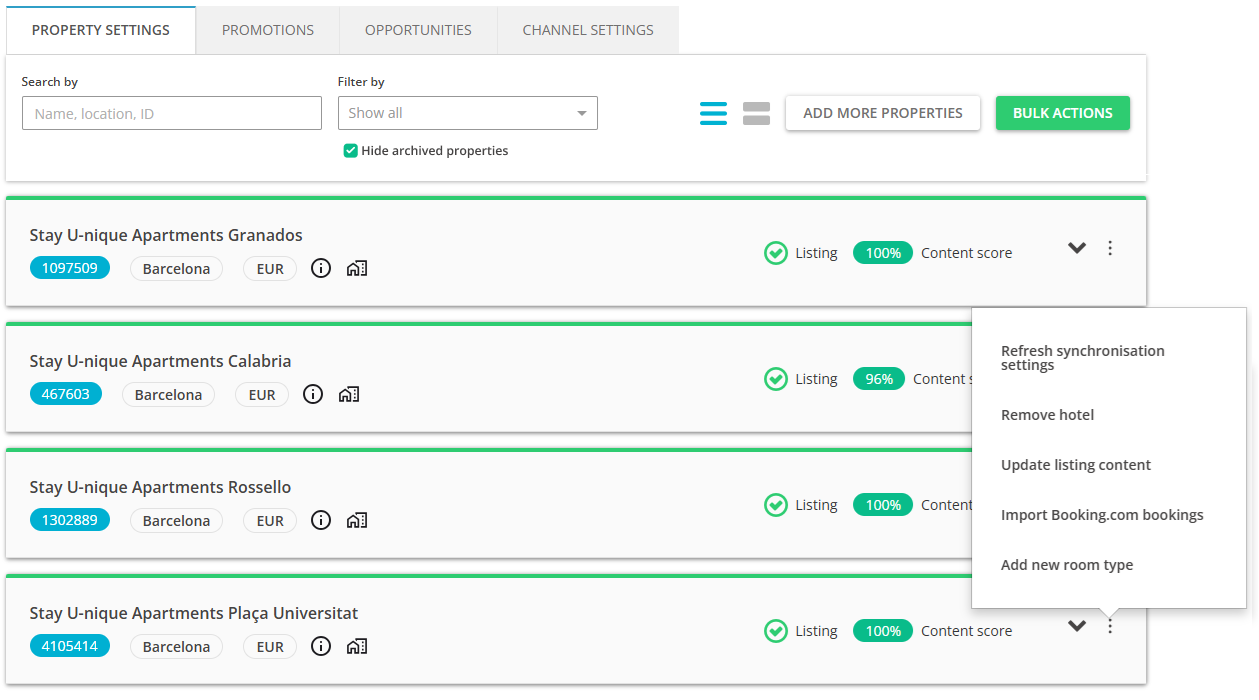
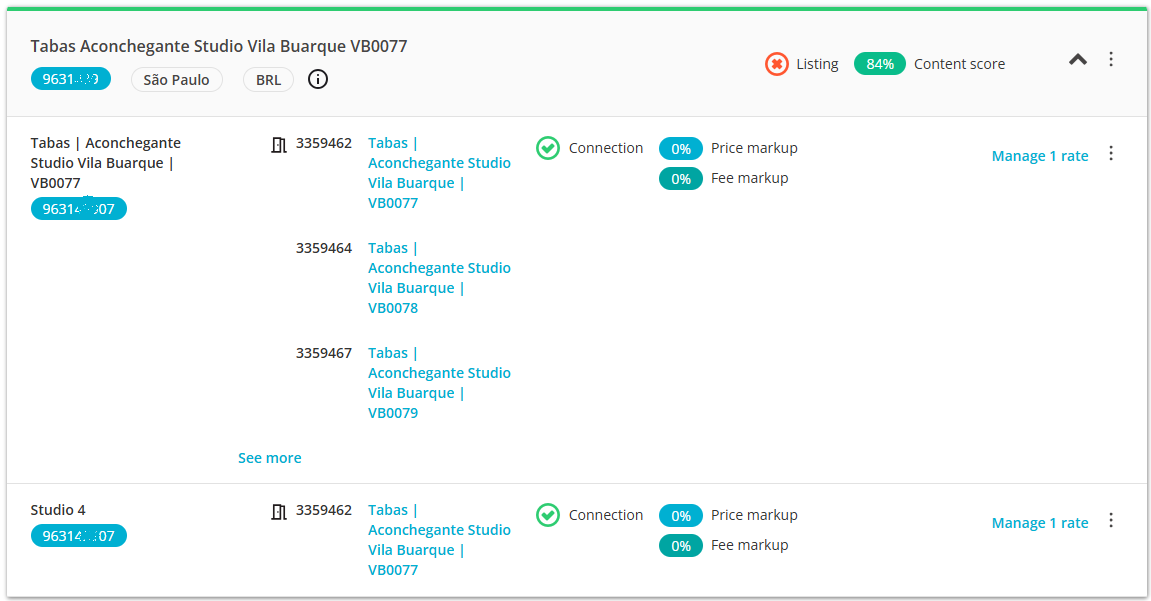
- You have changed content of your property. Find the cluster to which this property is assigned.
-
Hover over the three-dot menu on the cluster level. Click the Update listing content option.
-
Decide whether you want to update the entire property content or selected areas only. You can update the entire property content. Click the Update selected button.
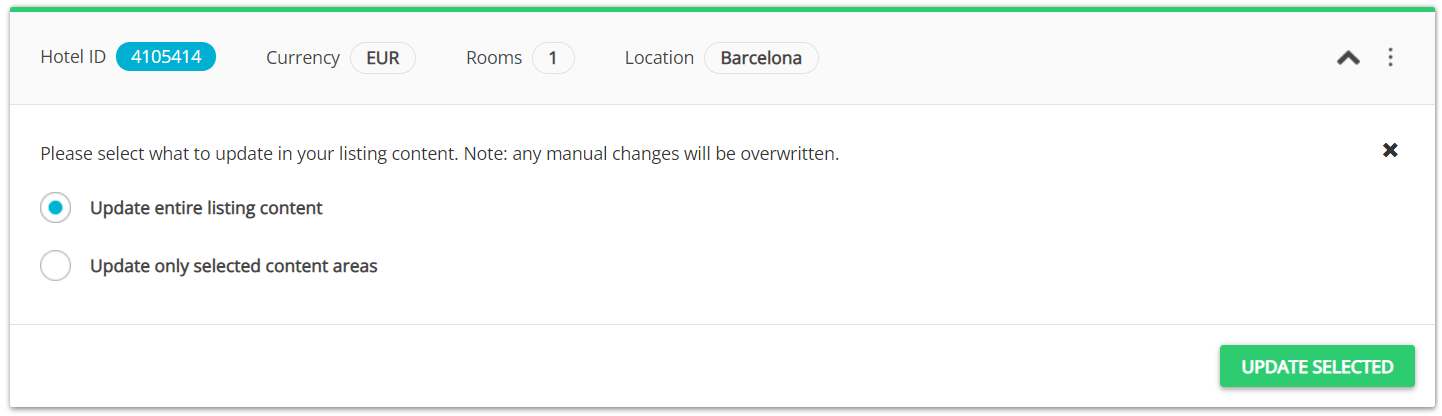
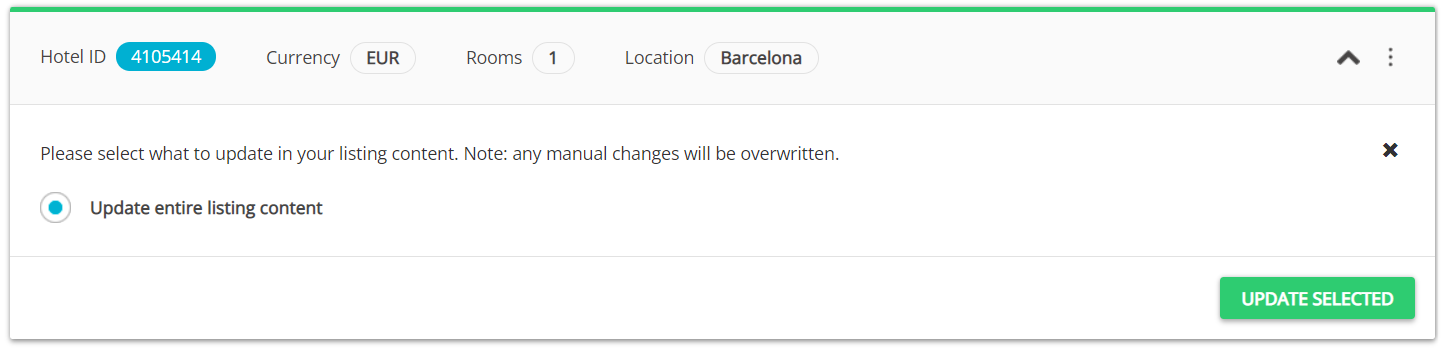
Tip: If you do not want to update the entire listing, you can update specific areas only. It is possible to select multiple bullets at once. By doing this, you may avoid overriding areas that have been manually edited in the Trip.com dashboard.
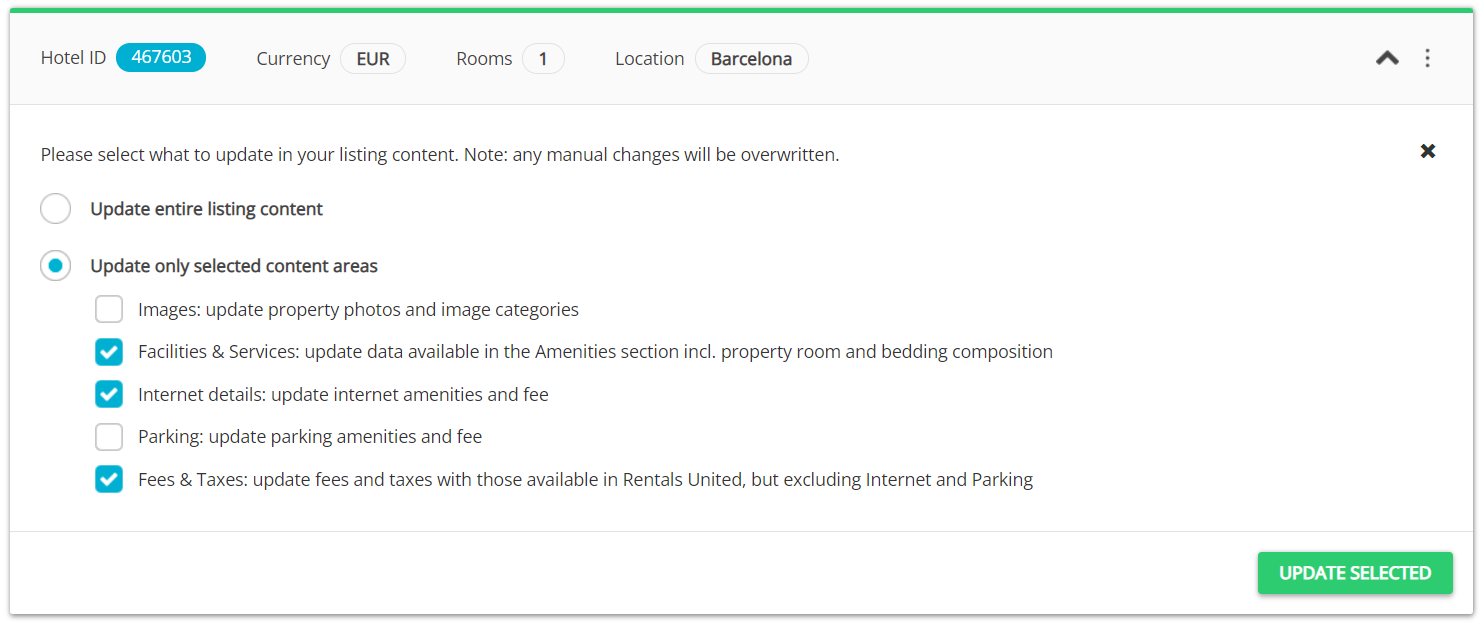
Note that the actual areas to select may vary from what you can see in the above screenshot. Refer to what is displayed in Rentals United. You can also see in this article what exactly will be updated after selecting the checbkox.
-
Confirm by clicking the OK button. Wait until the process is finished. You may preview the listing on the Sales Channel website after the indicated time is passed.

- The property status enters the Pending state. Once the operation is successful, the status updates to
 Active. You may preview these changes in the Trip.com dashboard or already on the Trip.com website.
Deactivating rates
In Rentals United platform, open Property Settings. Follow the steps here.
Search for the property you want to deactivate rates for by scrolling down or filtering the property out.
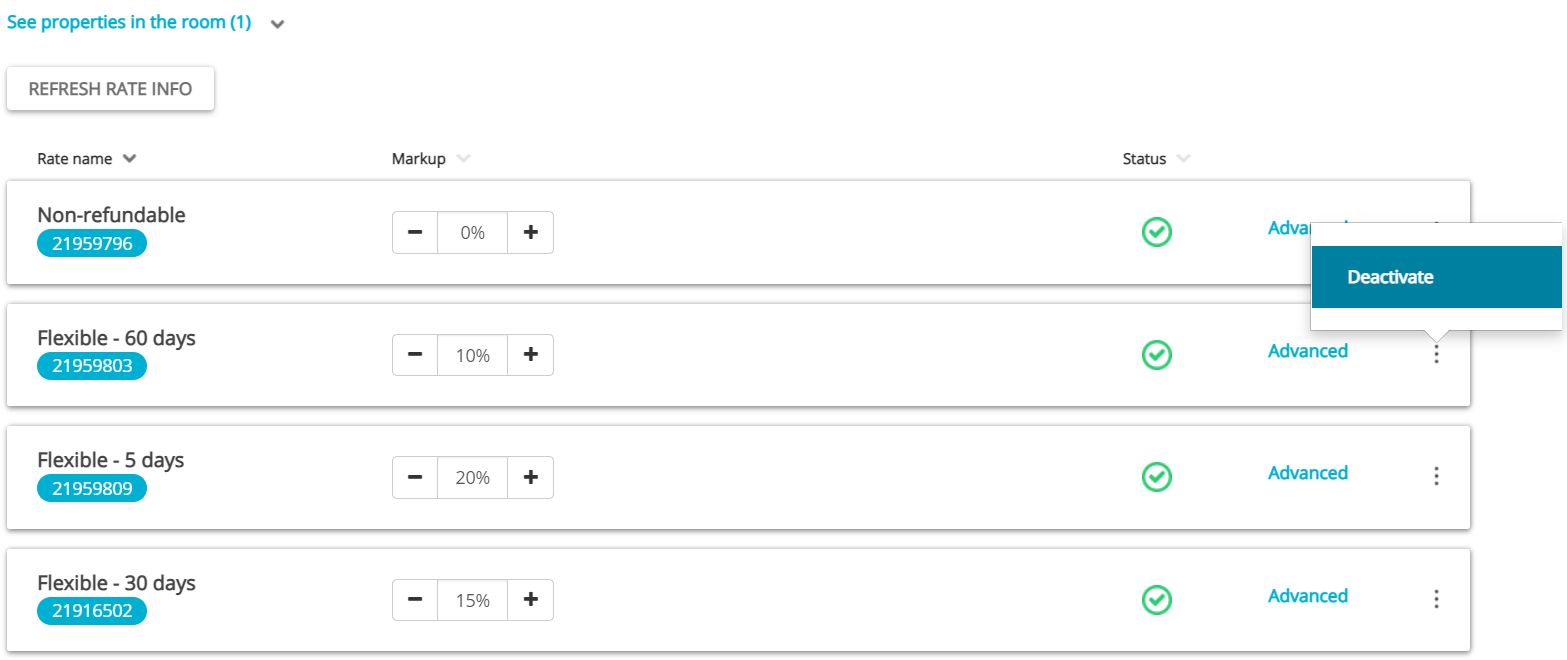
Click the Manage rates button.
A property management page is opened.
-
Click the Deactivate button.
 Note: Deactivating rates
If there are multiple rates in a group and you deactivate one - you stop sending availability and prices to Sales Channel, leaving the property open to new reservations on the Trip.com channel. This means that new reservations can be made through Trip.com, but the channel will not receive the updates in availability and pricing from Rentals United.
If there is only one rate in the group or you deactivate the last rate, you need to choose if you want to either stop sending availability and prices to Trip.com, leaving the property open to new reservations on the Trip.com channel, or to close the availability. If you close the availability, it means you will not receive reservations from Trip.com any more.
Availability can be always re-opened by clicking the Activate button next to the rate.
Once the rate has been deactivated, it will still be visible in the Property Settings. If you want to remove it from display, you should follow the below steps. Note that rates can be deleted only if there are no existing reservations that use this rate.
- From the three-dot menu, select the Confirm removal option.
- The rate is removed. No additional confirmation is required.
Removing hotels and room types from Property Settings (N/A)
Old Property Settings
Old Property Settings are no longer supported and we recommend using new Property Settings exclusively. New Property Settings are a robust and safe solution that offers you the newest features to manage your connections. If you need instructions related to old Property Settings, see Connecting to Trip.com.
